
 Caleb Turner
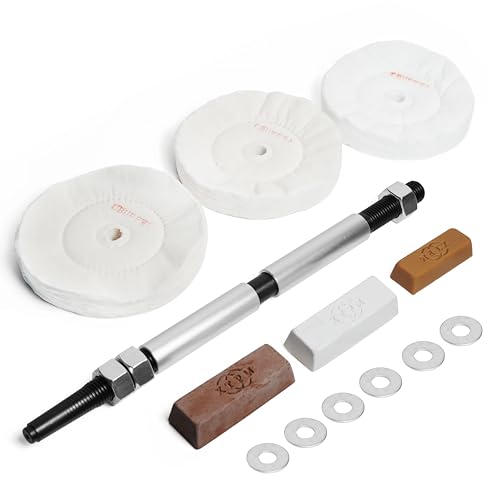
For minor blemishes on your prized wooden pieces, I recommend using a combination of fine sandpaper and oil. Begin with 220-grit paper to gently smooth out scratches or worn areas, ensuring to follow the grain of the wood for a uniform finish.
Following the sanding process, apply a few drops of furniture oil, like linseed or tung oil, onto a soft cloth. Rub it into the surface in a circular motion, allowing it to soak in. This not only enhances the color but also provides a protective layer that prolongs the life of your beloved items.
After oiling, buff the area with a clean cloth to achieve a subtle sheen. This technique restores the natural luster and brings out the inherent beauty of the grain, ensuring that your pieces remain a stunning focal point in your home.


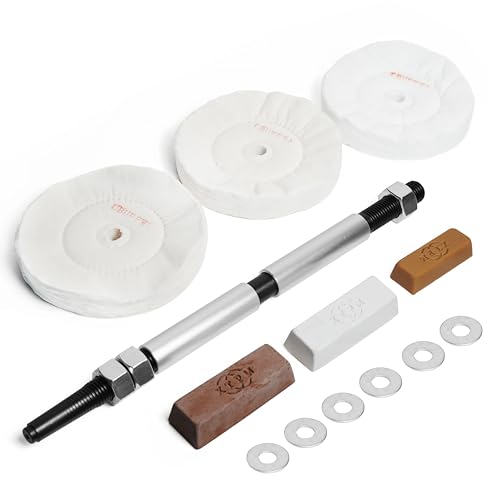

Restoration Techniques for Your Wood Pieces
For minor scratches, I use fine-grit sandpaper (around 220 grit) to carefully smooth the affected area. After sanding, I wipe away the dust with a damp cloth.
A mixture of varnish and mineral spirits can rejuvenate the color. I blend equal parts of both in a container and apply it with a clean cloth. This technique not only enhances the natural hue but also provides a layer of protection.
Addressing Stains
For watermarks, I apply mayonnaise directly to the stain and leave it for several hours. The oils penetrate the wood, helping to lift the mark. I then buff the area with a soft cloth for a polished finish.
Preventive Care
To maintain the luster, regularly dust the surfaces with a microfiber cloth. Applying a specialized wood cleaner every few months helps in preserving the beauty and extends the lifespan of my cherished pieces.
For prolonged exposure, I ensure that my items are placed away from direct sunlight to prevent fading and drying out. Using coasters and placemats also prevents scratches and moisture damage.
Assessing the Condition of Your Teak Furniture
I check for surface damage, such as scratches and dents, using my fingertips to assess texture. If I find any rough areas, I note them for further treatment. I inspect the joints and connections to ensure they are secure, as loose parts can lead to further issues.
I also examine the wood for discoloration or fading, which can occur due to exposure to sunlight or moisture. If I spot these changes, I determine how deep they are to decide if refinishing is necessary. For water stains, I test a small inconspicuous area with a wood cleaner to see if it improves the appearance.
I look for signs of mold or mildew, particularly in humid environments. If I notice any, I clean it with a mixture of water and vinegar or a specialized cleaner designed for wood. This helps me assess whether the integrity of the fibers has been compromised.
Lastly, I consider the overall shine of the surface; a dull finish indicates it might benefit from oil treatment or restoration. Keeping track of these aspects provides me clarity on what steps to take next in maintaining the quality of the item.
Choosing the Right Cleaning Products for Teak
For maintaining the elegance of your wooden pieces, selecting appropriate cleaning agents is paramount. I recommend using specialized products designed for hardwood care, specifically those formulated for oil-rich woods. Avoid harsh chemicals like bleach or ammonia, as they can strip natural oils and lead to discoloration.
Recommended Products
- Gentle soap formulated for wood maintenance.
- Biodegradable cleaners to minimize environmental impact.
- Wood-specific oils that enhance grain and add a protective layer.
Before applying any product, it’s beneficial to test it on a small, inconspicuous area to gauge compatibility and avoid unexpected reactions. Ensure the surface is free from dust or debris through a light dusting or soft vacuuming.
Natural Alternatives
- Olive oil mixed with vinegar as a natural cleaning solution.
- Beeswax for polishing and providing a protective finish.
Using these natural remedies can help retain the beauty and finish of your surfaces while being gentle on the wood. Regular care with the right products will contribute to preserving their aesthetic appeal for years to come.
Preparing Your Workspace for Touch-Up
Clear the area where I’ll be working. This means removing any items that could interfere with the process, such as decor, plants, or other belongings. I ensure the surface is clean and dry to prevent contamination.
Use a drop cloth or old newspapers to protect the floor from any spills, drips, or dust. A sturdy table or platform at a comfortable height can make maneuvering easier, allowing me to access every angle without straining.
Gather all necessary supplies, including cleaning agents, applicators, and touch-up products. Having everything within arm’s reach minimizes distractions and helps maintain focus. I also prepare ventilation by opening windows or using fans to ensure proper airflow.
Consider the lighting in the workspace. Adequate lighting is important for spotting imperfections and achieving an even finish. If natural light isn’t sufficient, I use additional lamps to illuminate the area effectively.
Lastly, make sure I wear appropriate safety gear, such as gloves or a mask, especially when working with chemicals or finishes. Protective equipment is vital to maintain personal safety throughout the process.
Removing Dirt and Grime from Teak Surfaces
I recommend using a mixture of warm water and a mild soap for initial cleaning. Make sure the soap is suitable for natural wood. Dip a soft cloth or sponge into the solution, wring it out, and gently wipe the surface. Avoid soaking the wood, as excessive moisture can cause damage.
If stubborn stains persist, create a paste using baking soda and water, applying it directly to the affected area. Let it sit for a few minutes before gently scrubbing with a soft-bristle brush. Rinse thoroughly with clean water and dry with a lint-free cloth.
<p_To tackle mildew or mold, mix equal parts vinegar and water in a spray bottle. Spray the solution on the affected spots and let it sit for about 10 minutes before wiping it down with a clean cloth. This not only clears grime but also helps to disinfect the surface.
If deeper cleaning is necessary, consider using a commercial cleaner specifically formulated for wood. Always follow the manufacturer’s instructions and test on a small, inconspicuous area first to ensure compatibility.
As a final step, ensure that the surfaces are completely dry. Leaving moisture can lead to further issues, such as warping or discoloration. After cleaning, let the wood breathe for a while before applying any conditioners or finishes.
Identifying Scratches and Imperfections
To effectively address marks on surfaces, I begin by inspecting the item under proper lighting. This highlights scratches and imperfections that might otherwise go unnoticed.
I concentrate on distinguishing between types of damage: shallow scratches and deeper gouges. Shallow scratches may often be treated with polishing, while deeper ones may require filling in or sanding.
| Type of Damage | Identification</th | Recommended Action |
|---|---|---|
| Shallow Scratches | Visible under light; feel smooth to touch | Use polish or rub with a cloth |
| Deep Gouges | Palpable ridges, longer than shallow scratches | Fill with a wood filler and sand |
| Water Stains | Dark or white spots visible | Treat with mineral oil or specific stain remover |
| Surface Wear | Dull or faded areas, irregular texture | Re-oil or apply a rejuvenating formula |
Checking for discoloration can also reveal areas needing attention. I look for fading or darkening, which are common signs of wear. Faded patches might respond well to re-oiling, while dark spots may require more thorough cleaning or conditioning.
Maintaining a keen eye helps me decide the appropriate level of repair necessary to restore the original appearance. Regular monitoring prevents minor imperfections from becoming significant issues in the future.
Selecting the Appropriate Oil or Finish
I recommend using a high-quality oil specifically formulated for preserving hardwood. Pure tung oil or Danish oil are excellent options due to their deep penetration and protective qualities. Ensure the product contains no additives that may affect the wood’s natural look.
For a finish that enhances durability while maintaining appearance, consider a satin polyurethane or an oil-based varnish. These options will provide a protective layer against moisture and UV rays, prolonging the lifespan of your item.
Before application, read the manufacturer’s instructions to avoid compatibility issues. Look for products that have a clear label indicating they are suitable for outdoor use if the piece will be exposed to the elements.
<p<I’ve found that testing the oil or finish on a small, inconspicuous area helps gauge the final look and ensures that it meets my expectations. A follow-up inspection after application can help identify any necessary touch-ups.
Applying Oil or Finish Evenly on the Surface
To achieve a uniform application of oil or finish, I use a high-quality lint-free cloth or foam applicator. This choice ensures that I avoid leaving behind any fibers or streaks. I start by pouring a small amount of the chosen product onto the cloth, allowing it to absorb fully before making contact with the surface.
Technique for Application
I apply the oil in long, even strokes, always following the grain of the wood. This technique not only promotes a smooth finish but also enhances the natural patterns of the grain. It’s essential to avoid applying too much pressure, as this can cause uneven absorption and create blotchy areas.
Building Up Layers
For optimal results, I apply multiple thin coats instead of one thick layer. After the first coat has dried–usually a few hours depending on the product–I lightly buff the surface with a clean cloth. This step smooths out any imperfections and prepares the surface for the subsequent layer. I repeat this process, ensuring each application is completely dry before adding the next. This not only improves the durability of the finish but also enriches the color depth.
Regularly stepping back during the process allows me to monitor the evenness of the application, ensuring a consistent look across the entire piece. Additionally, if I notice any areas appearing too dry or uneven, I reapply a small amount of oil to those spots to maintain balance.
Allowing Proper Drying Time for Finish
After applying oil or a protective coat, I always ensure to allocate sufficient drying time as per the manufacturer’s recommendations. This is crucial for achieving a durable and aesthetically pleasing result that complements the wood’s natural beauty.
Factors Influencing Drying Time
The drying time can vary depending on several factors. Temperature plays a significant role; warmer environments typically accelerate the drying process. Humidity is another factor; high humidity levels may extend drying time, so I keep an eye on the forecast before starting any work.
Testing for Dryness
Before proceeding with any further steps, I perform a simple touch test. Gently touching a small, inconspicuous area allows me to determine if the finish has completely cured. If the surface feels tacky, additional drying time is needed. Always prioritize this step to prevent imperfections in the final look.
By being patient and allowing the finish to dry thoroughly, I ensure the integrity and longevity of my wooden pieces, enhancing their appearance while protecting them from wear and tear.
Maintaining Wooden Surfaces After Touch-Up
Regular care can significantly prolong the life of my restored surfaces. Here are specific practices I implement:
Routine Cleaning
- I use a soft cloth dampened with water and a mild soap to wipe down the surfaces weekly, ensuring to remove dust and prevent buildup.
- Avoid harsh chemicals; they can strip the newly applied finish.
Periodic Oiling
- I apply fresh oil every 3 to 6 months, depending on the exposure to sunlight and general wear. This nourishes the wood and maintains its color and sheen.
- Using a clean, lint-free cloth, I spread the oil evenly and allow it to soak in for about 15 minutes before wiping off the excess.
Protection from Elements
- I keep these pieces out of direct sunlight to reduce fading.
- Using coasters and placemats prevents scratches and heat damage from everyday use.
This regular maintenance becomes part of my routine, ensuring that the beauty and integrity of my wooden pieces are preserved for years to come.


