
 Caleb Turner
Selecting quality reclaimed materials can significantly elevate your design projects. I focus on sourcing sturdy frames that have good structural integrity. Inspect each piece carefully for any signs of damage or weakness. Once I’ve gathered my materials, I begin by thoroughly cleaning and sanding them, ensuring a smooth surface for finishing.
Planning your design is crucial. I often sketch out my ideas to visualize the final product and make precise calculations for cuts and joins. Using simple joinery techniques like pocket holes or butt joints allows for durability while keeping the aesthetic seamless. I prefer to use natural stains or paints, enhancing the organic feel of the final product.
Ensuring safety throughout the process is non-negotiable. Wearing gloves and a mask while sanding or cutting prevents potential hazards and maintains a clean workspace. Once assembled, I always apply a protective sealant to withstand wear and tear, prolonging the lifespan of my creations. Each step, from source to finish, brings joy and satisfaction in crafting something unique.
Selecting the Right Pallets for Your Project
For a successful project, opt for heat-treated pallets, marked with the “HT” symbol. This ensures they are safe and free from harmful chemicals that often mark others.
Prioritize pallets made from hardwood, as they provide better durability and stability compared to their softwood counterparts. Inspect the condition thoroughly, checking for signs of damage such as cracks, splinters, or excessive wear.

Be mindful of brands and manufacturing locations. Pallets from reputable suppliers typically adhere to stricter quality controls than those from less-regulated sources.
| Type | Advantages | Disadvantages |
|---|---|---|
| Heat-Treated | Safe for indoor use, pest-free | May have limited availability |
| Deck Boards | Strong construction, versatile | Requires sanding for smooth finish |
| Used Pallets | Cost-effective, abundant | Check for structural integrity |
Avoid pallets treated with methyl bromide, as these are marked with “MB” and pose health risks. Look for clean, unmarked pallets, ensuring they have no foreign odors or stains.
Consider dimensions and design appropriateness. A standard pallet is typically 48” x 40”, but sizes may vary. Select those that align well with your envisioned outcome.
When sourcing, develop relationships with local suppliers for better quality control and possibly unique finds that fit your style.
Tools Needed for Working with Pallet Wood
Firstly, invest in a reliable saw, such as a circular saw or jigsaw, to cut the slats to desired dimensions swiftly. A miter saw can also prove valuable for precise angles if your design requires them.
A high-quality handsaw is useful for more manual tasks, especially in tight spots where power tools may not fit. Pair this with a sturdy workbench to stabilize your projects.
For smooth surfaces, a sander with various grits is essential. I recommend a random orbit sander for efficiency, particularly on larger surfaces. Hand sanding blocks should not be overlooked for detailed work on edges.
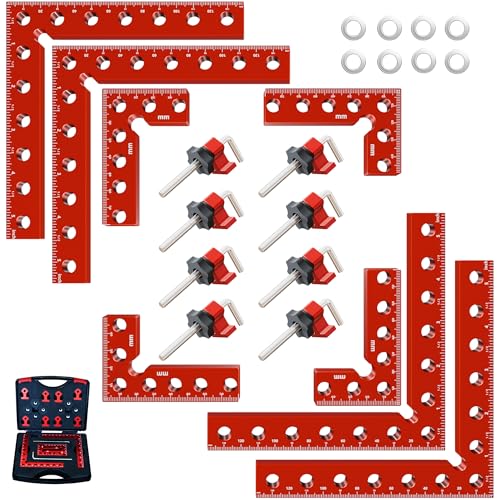
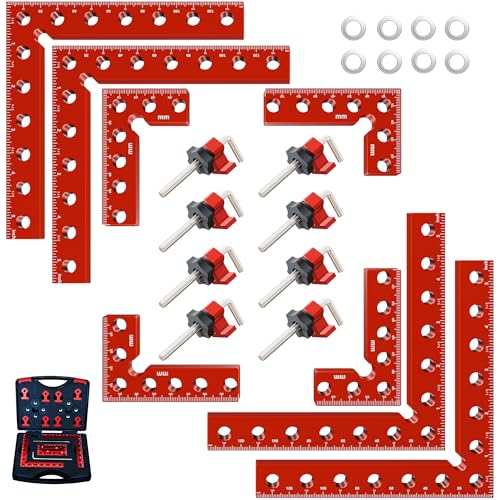
Utilize wood glue for secure joints, alongside a set of clamps to hold pieces together while the adhesive cures. In addition, a drill with a set of bits will assist in creating holes for screws and reinforcing joints effectively.
Don’t forget screws and brackets, as they add stability to your creations. Choose appropriate sizes based on the thickness of the material you are working with.
A level ensures everything is even, which is crucial for aesthetic appeal and functionality. Lastly, wear safety gear, including goggles and gloves, to protect yourself from dust and potential injuries while working.
Preparing pallets: cleaning and disassembling
Prior to utilizing the crates, thorough cleaning is paramount. Remove any dirt, grease, or contaminants using a mixture of warm water and a mild detergent. A stiff brush aids in scrubbing surfaces effectively. After cleaning, rinse with clean water and allow them to dry completely.
Inspection for Damage
Inspect each piece for structural integrity. Look for broken boards, loose nails, or protruding splinters. Damaged sections should be replaced or repaired before the assembly process. A visual check also helps in eliminating potential hazards.
Disassembly Techniques
For disassembling, I prefer using a pry bar and a hammer. Insert the pry bar gently between boards to avoid splitting the wood. Tap with the hammer if resistance is met. Alternatively, a reciprocating saw can be useful for cutting boards at joints, though it requires precision to prevent unnecessary waste. Once the pieces are separated, remove any nails or staples that remain in the wood.
Designing furniture: tips for pallet wood projects
Consider incorporating storage solutions in your designs, such as built-in shelves or hidden compartments. This enhances functionality while maintaining aesthetic appeal.
Balance aesthetics with practicality
- Choose complementary colors for staining or painting that suit your interior.
- Experiment with finishes–matte, glossy, or distressed–to add depth.
- Ensure the pieces are ergonomically designed for comfort and usability.
Innovative structural ideas
- Combine different heights in tables or seating to create visual interest.
- Incorporate mixed materials like metal or glass to modernize classic designs.
- Use mixed patterns from the planks to create unique surfaces or accents.
- Think modular: design components that can be rearranged based on space needs.
Incorporate regional design trends to make pieces resonate with personal style and environment. Research local preferences for textures, colors, and shapes to create something truly unique.
Cutting and Sanding Pallet Planks for a Smooth Finish
First, ensure safety by wearing goggles and a dust mask. Select a sharp saw for precise cuts, preferably a circular or jigsaw for straight edges. Measure each piece carefully, marking with a pencil. For crosscuts, use a miter saw for clean angles.
Cutting Techniques
Adjust the blade depth to avoid cutting through knots, which can split the timber. Make slow, steady cuts to reduce splintering. If available, a table saw will provide consistent widths for all components. Tackle thicker sections first to reduce strain on tools.
Sanding for a Smooth Surface
Choose a power sander or manual block sander for uneven surfaces. Begin with coarse-grit sandpaper (60-80 grit) to eliminate rough patches, then move to medium (120 grit) for smoothing, and finish with fine-grit (220 grit) for a polished touch. Sand along the grain to maintain the natural look. Vacuum frequently to remove dust and ensure a cleaner workspace.
Apply wood conditioner or sealant after sanding for added protection and improved finish. This will enhance the appeal of the final product and extend longevity.
Joining Techniques for Pallet Wood Projects
For sturdy connections, I prioritize these joining methods:
- Screwing: I use wood screws for a robust hold. Pre-drilling avoids splitting.
- Nailing: Clout nails work well for quick assembly. A nail gun speeds up the process.
- <strong*Glue: I’d apply polyurethane glue for added strength. This can reinforce joints when paired with screws.
- <strong*Dowels: For a seamless look, I drill holes and insert wooden dowels, which hide the connection.
- <strong*Pocket Holes: Kreg jigs create pocket holes for angled screws, providing a neat appearance on the surface.
- <strong*Brackets: Metal L-brackets can secure corners, adding strength to frames.
- <strong*Laminating: I might laminate pieces for extra thickness and strength, allowing for varied designs.
Each technique serves specific purposes and situations, allowing flexibility in design and stability in use. I often combine methods to achieve optimal results in my builds.
Finishing touches: staining and sealing pallet furniture
Choose a high-quality stain that highlights the grain and texture of the wood. I prefer oil-based stains for deeper penetration and richer color. Apply with a clean rag or brush, making sure to work it into the surface evenly. Wipe off any excess after a few minutes to prevent blotchiness. Let it dry completely, which usually takes 24 hours.
Sealing for protection
Opt for a clear polyurethane sealant to protect the surface from moisture and scratches. A semi-gloss finish works well for a subtle sheen. Use a brush or spray can for an even application. Apply at least two coats, allowing each layer to dry thoroughly before sanding lightly with fine-grit sandpaper between applications. This process helps to achieve a smooth surface and improves adhesion.
Maintenance considerations
To keep the pieces looking fresh, consider reapplying the sealant annually. Dust regularly and use a damp cloth for cleaning. Avoid harsh chemicals, as they can damage the finish. By maintaining the protective layer, the beauty and durability of the creation will last longer.
Maintaining and Caring for Your Pallet Furniture
Regular cleaning enhances the appearance of my creations. I use a soft cloth or a microfiber rag to remove dust. For stubborn stains, a mixture of mild soap and water works well. Avoid harsh chemicals that can damage the surface.
Protecting the Finish
Applying a protective sealant every couple of years keeps surfaces looking fresh. I prefer a clear polyurethane or a natural oil finish, as they safeguard against moisture and scratches. Light sanding before reapplication ensures better adhesion.
Preventing Warping and Cracking
To avoid warping, I position my pieces away from direct sunlight and heat sources. If there are drastic humidity changes in my environment, I consider using a dehumidifier to maintain a balanced atmosphere. Additionally, I check for any cracks or splits regularly and apply wood filler as necessary.


