
 Caleb Turner
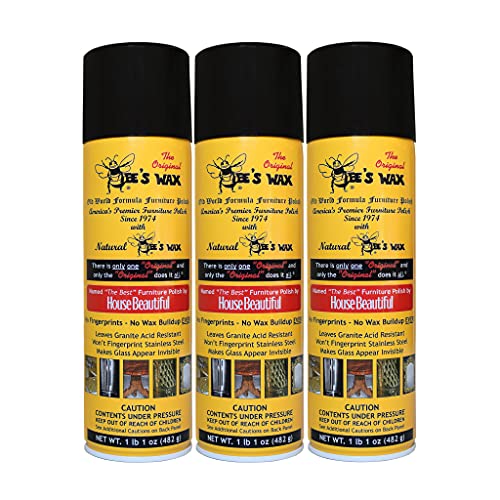
Begin with a microfiber cloth for dusting. This gentle material won’t scratch the finish, making it perfect for your delicate surfaces. Regularly removing dust helps maintain the rich look and natural patina of your piece.
For deeper upkeep, employ a damp cloth with a small amount of mild soap. Wring it out thoroughly to avoid excess moisture. Gently wipe the surface, then follow up with a dry cloth to remove any residual moisture and soap traces.
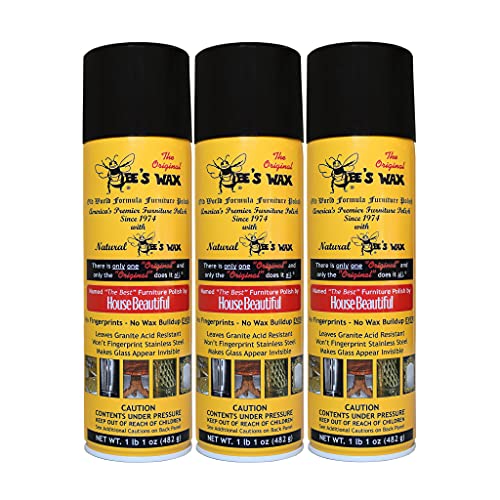


In case of stubborn stains, try a dedicated cleaning solution specifically designed for waxed finishes. Apply it thoughtfully, following the manufacturer’s instructions, to ensure the integrity of the protective layer remains intact.
Lastly, consider reapplying wax every six months or as needed. This process involves buffing in a thin layer of wax with a clean cloth, ensuring your surface retains its signature luster and protection against wear.
Maintenance Techniques for Waxed Surfaces
For optimal upkeep of your treated pieces, use a soft, lint-free cloth to remove dust and debris. Avoid harsh materials that may scratch the surface. It’s best to opt for a damp cloth with warm water for more stubborn marks, ensuring it’s not overly wet to prevent moisture damage.
Restoring Finish
When the sheen diminishes or appears dull, consider buffing with a clean, soft cloth. In cases of deeper wear, a small amount of a suitable wax can be applied sparingly and worked into the surface using circular motions. Let it sit briefly before buffing again to restore luster.
Cleaning Agents
A mild soap mixed with water can be used for occasional cleaning. Stick to natural and non-abrasive solutions to avoid compromising the finish. Rinse with a damp cloth afterward to remove any residue, and dry thoroughly.
- Use a soft, dry cloth regularly to prevent dust accumulation.
- For stains, a slightly damp cloth with warm water is ideal.
- Apply wax if the surface appears dull after repeated use.
- Avoid excessive moisture and harsh cleaning agents.
Assessing the Condition of Your Waxed Furniture
Begin by observing the surface for any signs of damage such as scratches, dents, or discoloration. A thorough inspection can reveal areas needing attention and thus inform your approach to restoration. Pay close attention to corners and edges, as they often wear faster.
Touch and Feel
Run your fingers over the surface. A soft, smooth feel indicates well-maintained pieces, while a tacky or rough texture suggests it may require further treatment. If it feels greasy or overly waxy, it may need to be polished and buffed to restore its original luster.
Visual Clarity
Look for cloudy or dull areas that may signal the need for revitalization. Evaluate any stains or spots that could disrupt the appearance. Identifying these visual cues early can help guide work to restore the aesthetics of your piece effectively. A clean, clear surface enhances the overall presentation of your items.
Gathering Necessary Cleaning Supplies
To ensure a successful maintenance process for your treated surfaces, I recommend preparing a specific set of items that will facilitate the task. It’s essential to have everything on hand to avoid interruptions.
Key Supplies
- Soft cloths or microfiber towels
- Non-abrasive sponge
- Natural soap or mild detergent
- Warm water
- Soft-bristle brush (optional for intricate areas)
Additional Items
- A bucket for mixing water and detergent
- Masking tape (to protect edges and corners)
- Beeswax or finishing wax for reapplication (if required)
- Rubber gloves to protect your hands
With these supplies ready, you’ll be able to tackle the upkeep thoroughly and effectively. Prioritizing quality materials enhances the longevity of your pieces.
Testing Cleaning Products on a Hidden Area
I always begin by identifying an inconspicuous section of the piece, such as the underside or a corner that isn’t easily visible. After that, I apply a small amount of the cleaning solution to a soft cloth or a cotton swab. Gently rub the area with the product, ensuring not to use excessive pressure.
Next, I allow the solution to sit for a brief period, usually around 5-10 minutes, to observe any immediate reactions like discoloration or damage. It’s crucial to evaluate both the finish and texture after the time has lapsed.
If the test area remains unaffected, I proceed with caution, gradually expanding to larger areas. In case of any negative reaction, I quickly dab the spot with a separate cloth dampened with water to halt any potential damage.
Following the initial test, I always wait for the area to dry completely before making further decisions about the cleaning product’s suitability. If everything appears normal, it’s safe to move forward with the process on larger sections, always keeping an eye out for any signs of distress.
Removing Dust and Loose Debris
I recommend using a soft microfiber cloth to gently wipe away dust and loose particles. This type of fabric traps debris effectively without scratching the surface. Start from the top surfaces and work your way down to ensure all particles are captured as they fall.
Techniques for Efficient Dusting
For crevices or intricate designs, a small brush–like a paintbrush–can help dislodge dirt without damaging the finish. I also find that a vacuum cleaner with a brush attachment is useful for larger areas, especially if it has a low suction setting to avoid any potential damage.
Regular Maintenance
A regular dusting routine, ideally weekly, will prevent the buildup of grime. Incorporating this into your cleaning regimen will maintain the integrity of the surface over time, making deep cleaning sessions less frequent and easier to manage.
Applying a Gentle Cleaning Solution
I recommend mixing a solution of warm water and a few drops of mild dish soap in a clean spray bottle. This mixture will effectively lift grime without harming the protective finish. Always shake the bottle gently before using it to ensure the soap is properly mixed.
Next, mist the solution onto a microfiber cloth rather than spraying directly onto the surface. This approach prevents excess moisture from seeping into any joints or crevices. Lightly wipe the surface with the damp cloth, focusing on areas that show visible signs of dirt or stains.
Be attentive to stubborn spots. If necessary, create a paste with baking soda and a small amount of water to gently buff these areas. Apply the paste with your cloth, using circular motions for better result, and then wipe with a clean, damp cloth to remove residue.
After this step, it’s crucial to dry the surface thoroughly with a clean, dry microfiber cloth. This helps prevent any potential watermarks and maintains the appearance of the piece.
Lastly, avoid using abrasive cleaners or scrubbing pads, as these can damage the finish. Stick with gentle methods for optimal upkeep of your cherished items.
Drying and Buffing the Surface
After applying the gentle cleansing mixture, I ensure the surface dries completely before proceeding to the next step. I typically leave it for at least 30 minutes to an hour, allowing sufficient time for moisture to evaporate.
Once dry, I take a soft, lint-free cloth or a microfiber towel. I gently buff the area in circular motions, which not only enhances the sheen but also helps to remove any streaks left on the surface. This technique creates a beautiful, smooth finish.
With light pressure, I focus on one small section at a time. It’s essential not to rush this process, as thorough buffing can significantly improve the overall appearance. If I encounter any stubborn spots, I repeat the cleaning solution application, followed by another buffing session.
Continuously checking the surface as I go helps me to achieve an even shine. I always step back occasionally to assess the entire piece, ensuring that it looks uniform and polished. The final outcome should reflect the quality and care given to the maintenance of the item.
Finally, I let the surface rest for a few hours or overnight before using or placing any objects back, ensuring that the work I’ve done settles perfectly.
Reapplying Wax for Protection
To maintain the sheen and protective layer on my pieces, I follow a few straightforward steps to reapply the finish. First, ensure the surface is completely clean and dry before I begin the process. This helps in achieving a smooth and even application.
Choosing the Right Product
I select a high-quality wax that complements the original application. It’s advisable to use a product from the same brand for consistency. I often check for compatibility with the existing finish to avoid any adverse reactions.
| Wax Type | Finish Level | Recommended Use |
|---|---|---|
| Soft Wax | Matte | For low-traffic areas |
| Clear Wax | Glossy | For high-traffic surfaces |
| Colored Wax | Varied | Adds a tint to existing color |
Application Technique
I use a soft, lint-free cloth or a brush to apply a thin, even layer across the surface. Circular motions work well to ensure full coverage without excess build-up in any area. I take my time to cover every corner and edge, aiming for uniformity.
After application, I allow the wax to set for approximately 20-30 minutes. Once set, I buff the surface with a clean cloth, enhancing the shine and ensuring durability. Buffing should be done gently to prevent stripping the new layer.
For best results, I repeat this process every six months, or sooner if the surface appears dull or worn. Regular maintenance not only preserves the aesthetic appeal but also extends the life of my cherished items.


