
 Caleb Turner
Begin with sanding the affected areas using fine-grit sandpaper. This helps to smooth out imperfections and diminish the visibility of any unevenness caused by application techniques. Be sure to sand with the grain to avoid additional scratches that could further compromise the surface.
For a flawless finish, consider using a high-quality foam roller or sponge brush for painting or staining. These tools tend to apply the product more evenly, minimizing the occurrence of visible lines. When applying, work in thin, even coats, allowing adequate drying time between each layer to achieve a sleek appearance.
To enhance the overall look, after the final coat dries, apply a clear topcoat. This not only protects the wood but also creates a polished, even sheen that can effectively mask any remaining imperfections. A spray application can yield the most uniform finish, if you’re looking for that professional touch.
Choosing the Right Paint for a Smooth Finish
Opt for high-quality acrylic or alkyd paints specifically designed for smooth finishes. These types of paint provide better leveling properties and reduce imperfections.
Consider the finish as well; satin or semi-gloss surfaces tend to show fewer imperfections compared to matte finishes. The right sheen can enhance the appearance and minimize visibility of application marks.
Before purchasing, examine the manufacturer’s instructions for any specific recommendations regarding brush or roller types compatible with the paint. A foam roller often yields better results than traditional brushes.
Investigate paint additives as well; products that aid in flow and leveling can help achieve that flawless look. Adding a small amount of paint conditioner can significantly improve the application process.
| Type of Paint | Finish | Recommended Tools |
|---|---|---|
| Acrylic | Satin | Foam roller |
| Alkyd | Semi-gloss | High-quality synthetic brush |
| Chalk Paint | Matte | Soft bristle brush |
Selecting the appropriate color is just as vital. Darker shades can reveal brush marks more noticeably than lighter colors. Light tones with a smooth application will conceal unevenness better.
Conduct a test patch before committing to paint your entire piece. This will allow you to gauge application ease and the final appearance, ensuring your chosen product meets expectations.
Preparing the Surface Before Painting
I always begin by cleaning the surfaces thoroughly. Dust, grease, and any residue can hinder paint adhesion. Using a mild soap or a dedicated cleaner with a damp cloth works well to remove any contaminants. Rinse the area with clean water and allow it to dry completely.
Next, I inspect for imperfections. Filling in cracks, dents, or holes with a suitable wood filler or spackle ensures a uniform finish. Once the filler has dried, sanding the area smooth is crucial. I prefer using fine-grit sandpaper, as it minimizes scratches and creates a seamless base for the next layer.
After sanding, I wipe the surface again with a damp cloth to eliminate dust from the sanding process. For an even more refined finish, applying a primer is advisable. This step enhances paint adherence and reduces the number of coats needed later.
Consider the appropriate sanding technique; light, even pressure over the entire surface promotes an excellent final result. I usually follow the grain of the wood to avoid creating visible scratches. After the primer has dried, a light sanding before the final coat can further improve smoothness.
Finally, organizing the workspace and ensuring proper ventilation create a more pleasant painting experience while allowing the surfaces to settle before applying the first coat.
Using Proper Brush Techniques to Minimize Streaks
For a flawless finish, I ensure the application technique is precise. A good grip on the handle allows for better control. I apply paint in long, even strokes, maintaining consistent pressure on the brush. This approach minimizes uneven texture and produces a smooth appearance.
Work with the Grain
Always move in the direction of the wood grain. This technique helps the paint settle evenly and prevents visible lines. It’s crucial to be aware of how the bristles interact with the surface to achieve a seamless look.
Use the Right Amount of Paint
Loading the brush correctly can make a significant difference. I dip only the bristle tips into the paint, then tap off excess on the container’s rim. Too much paint can lead to runs, while too little may leave patches. A well-balanced brush ensures smooth application without excess pooling.
Choosing the Right Brush for Your Furniture Type
For optimal results, I recommend selecting a synthetic bristle tool when applying water-based finishes, as they hold up better and provide a smoother outcome. Conversely, for oil-based products, go with natural bristles; they have more flexibility, allowing them to spread the paint evenly without leaving behind imperfections.
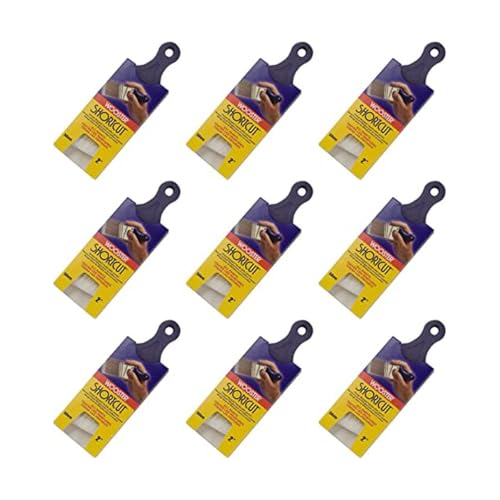
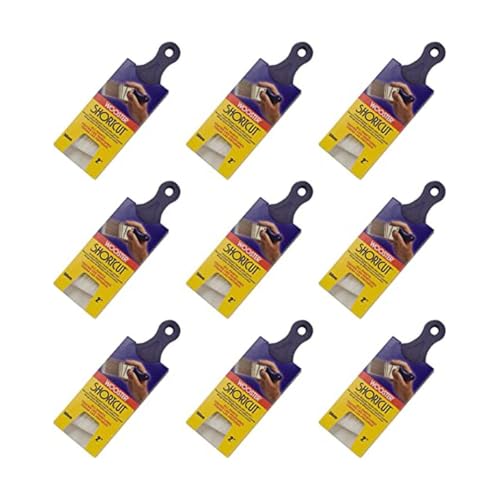
Consider the size of the piece you’re working on. A wide implement works well for larger surfaces, while a narrower one is ideal for intricate details and corners. Thin tools can help navigate tight spots without compromising the finish.
Experiment with different shapes. Flat styles are excellent for broad areas, while angled options are great for edging and detailed work. For smaller projects, I often use a round tool, which offers good control and precision.
Before starting, check the bristles’ quality. They should be dense and soft to enable an even application. Avoid cheap varieties that can shed hair and ruin the look of your project.
Additionally, I find it beneficial to have a few options on hand. Different projects may require various effects, and having multiple tools allows for greater flexibility in achieving the desired finish.
Applying a Clear Coat to Achieve a Flawless Look
For a polished finish, I recommend using a high-quality clear coat after painting. This step not only enhances durability but also provides a glass-like sheen, making imperfections less noticeable. Choose a water-based polyurethane for low odor and easy cleanup.
Application Techniques
Ensure the surface is clean and dry before application. Use a foam brush or a synthetic applicator to distribute the clear coat evenly. Apply in thin layers, allowing each coat to dry completely before adding the next. This prevents drips and runs, ensuring a smooth appearance.
Finishing Touches
After the final coat, lightly sand with fine-grit sandpaper once it’s fully cured. Wipe away dust and finish with a final layer. This technique will lock in the beauty of the furniture while providing added protection against wear.
Methods for Smoothing Out Already Painted Surfaces
For surfaces that exhibit imperfections after application, I recommend the following techniques to achieve a refined finish:
- Sanding: Begin with fine-grit sandpaper (220-320 grit) to smooth the surface. Lightly sand the area in circular motions to avoid creating further damage. Ensure the surface is clean and free of dust afterward.
- Using a Foam Roller: After sanding, apply a thin coat of paint with a high-density foam roller. This minimizes texture and offers a smoother application compared to traditional brushes.
- Touch-Up Paint: For small areas with noticeable inconsistencies, employ a small artist’s brush to apply touch-up paint. This precision can help blend imperfections seamlessly with the surrounding area.
- Clear Finishing Coat: Once the surface is smoothed, consider a clear topcoat. This not only enhances the finish but also adds depth and can obscure minor flaws.
- Heat Gun Method: Carefully using a heat gun can help to reflow the paint, creating a uniform surface. Maintain a safe distance to prevent damage.
These techniques can significantly improve the overall aesthetic quality of painted surfaces, ensuring a smooth and even appearance.
Alternative Finishing Options to Avoid Brush Strokes
I recommend considering spray painting as a top choice for achieving a seamless finish. Utilizing a paint sprayer allows for an even application, reducing the appearance of imperfections. Ensure to maintain the correct distance and speed while spraying for the best results.
Using Foam Rollers
Foam rollers can provide a smooth application as well. They are particularly useful for larger surfaces. When using a foam roller, choose a high-density roller to minimize texture and achieve a satin-like finish.
Wet Sanding Technique
Wet sanding is another method worth exploring after the initial coat dries. Using fine-grit sandpaper and water aids in smoothing out any irregularities. Lightly sanding between coats will help to create a slick surface prior to applying a clear topcoat.
Always consider the ambient conditions such as humidity and temperature when finishing to ensure optimal adhesion and drying times, enhancing the overall outcome.


