Caleb Turner
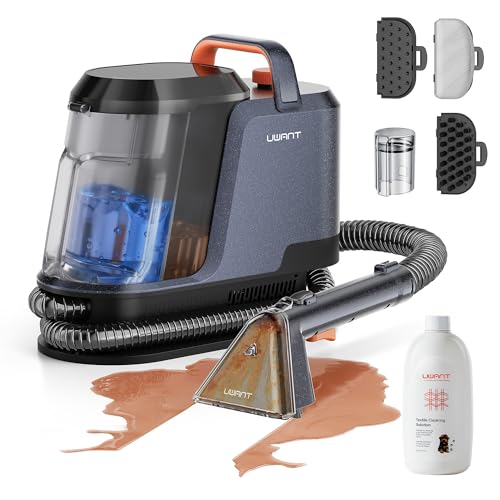
Act swiftly: gently scrape away any excess treat with a dull knife or spoon, avoiding damage to the material. Blot the stained area with a clean cloth to absorb as much of the substance as possible.
Next, create a solution using warm water and a few drops of mild detergent. Dampen a fresh cloth in this mixture and dab the stained section, working from the outer edges inward to prevent spreading.
For stubborn remnants, consider applying a mixture of equal parts white vinegar and water. This gentle solution helps to break down the stain without harming the surface. Use a clean cloth to apply the mixture, continuing to blot until the stain fades.
Always conduct a spot test on an inconspicuous area to ensure no discoloration occurs. Once the stain is no longer visible, rinse the area with a cloth dampened in plain water to remove any cleaning solutions.

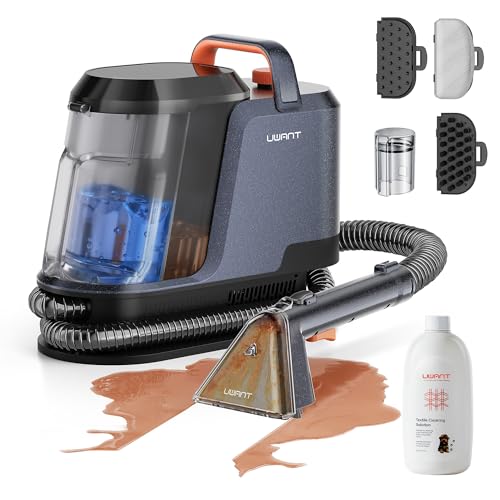
Finally, allow the fabric to air dry thoroughly. If necessary, gently brush the area to restore the texture of the upholstery.
Dealing with Sweet Stains on Upholstery
First, I scrape off excess residue using a butter knife, being careful not to damage the underlying material. Next, I mix a solution of cold water and a few drops of mild dish soap. With a clean cloth, I dab the affected area gently, avoiding any vigorous rubbing, which could spread the stain further.
If the mark persists, I prepare a mixture of equal parts white vinegar and water. After applying this solution with a fresh cloth, I blot gently until the stain starts to lift. Following this, I rinse the spot with cold water and blot it dry with a paper towel.
Occasionally, a stronger approach is needed. In those cases, I opt for a fabric-safe stain remover, ensuring to test it on an inconspicuous area first to confirm it won’t damage the color or texture. I apply the stain remover as directed, followed by a quick rinse with cool water.
Once the spot appears clean, I leave the area to air dry completely. If any residue remains, I can use a soft brush to fluff the fibers back to their original texture. Regular maintenance and immediate attention to these accidents can significantly prolong the beauty of the upholstery.
Identify the Type of Fabric
Before tackling any stains, it’s critical to know the material of your upholstery. Different fibers require specific approaches.
- Cotton: Generally durable and can withstand various treatments. Always check care labels for specifics.
- Polyester: Stain-resistant and typically machine washable. Spot-cleaning is often effective.
- Silk: Delicate and requires gentle handling. Avoid harsh chemicals and opt for mild solutions.
- Leather: Wipe with a slightly damp cloth and use specific leather cleaners for deeper issues.
- Wool: Sensitive to water and may shrink. Mild detergents and minimal moisture are best.
Examine your fabric closely to identify any labels or care instructions. Testing any solution on a small, inconspicuous area ensures that the cleaning method won’t cause damage.
Gather Necessary Cleaning Supplies
I recommend having white paper towels or a clean cloth to dab at the stain. These materials efficiently absorb moisture without leaving residue. Additionally, a soft-bristle brush is useful for lifting any remnants without damaging the surface.
Prepare a mild detergent, preferably liquid, which works to break down proteins and fats effectively without harsh chemicals. Baking soda can serve as a gentle abrasive, helping to lift stubborn bits. A mixture of vinegar and water can act as a natural cleaning solution, neutralizing odors as well.
Keep a bowl of warm water nearby; it is beneficial for rinsing soiled areas. A spray bottle is handy for applying solutions evenly without oversaturating. Finally, wear rubber gloves to protect my hands while tackling this mess. Having these items ready simplifies the entire cleaning process.
Remove Excess Chocolate Gently
Begin the cleanup by using a dull knife or a spoon to lift away the bulk of the treat without pressing it into the fibers. Work from the edges of the stain towards the center to prevent spreading. Employ a gentle hand to avoid damaging the material.
Next, utilize a clean, white cloth or paper towel to blot the area. This technique helps absorb any residual oils or pigments. Avoid rubbing, as this may drive remnants deeper into the fabric.
| Step | Action |
|---|---|
| 1 | Gently scrape with a blunt instrument |
| 2 | Blot with a clean cloth or paper towel |
| 3 | Repeat until the area is clear of any visible residue |
After completing these steps, assess the spot to determine the effectiveness of the initial approach. If any traces remain, proceed with appropriate cleaning solutions suited for the specific material type.
Apply a Stain Remover Solution
I chose a commercially available stain remover that is suitable for the specific material I’m dealing with. After shaking the bottle well, I applied a generous amount directly onto the stained area. It’s crucial to ensure even coverage to maximize the solution’s effectiveness.
I allowed the product to sit for several minutes, letting it penetrate and break down the affected spot. This waiting period is vital; it allows the enzymes in the cleaner to work on the stain. I made sure to check the manufacturer’s instructions for the recommended time to leave the solution on the fabric.
Next, using a clean, white cloth, I gently blotted the area, absorbing the cleaner along with any loosened residue. It’s important to avoid rubbing, as this can push the stain deeper into the fibers. I repeated the blotting process until the area was noticeably cleaner.
Finally, I rinsed the spot with cold water, ensuring to remove any lingering cleaner, and blotted it dry with a fresh towel. Keeping the area dry is essential for preventing any new marks from forming.
Blot the Stain with a Clean Cloth
Immediately after noticing the spot, I grab a clean cloth or paper towel. I gently press it against the affected area, allowing the cloth to absorb as much of the residue as possible. I avoid rubbing, as this can push the offending substance further into the fibers.
To optimize absorption, I often use the following method:
- Hold the cloth against the spot for several seconds to soak up excess.
- Replace the cloth with a fresh one if it becomes saturated.
- Repeat until no more transfer occurs to the cloth.
This step is crucial for minimizing the stain’s appearance before applying any cleaning solutions. After blotting, I ensure the area is as dry as possible to prepare for the next stage of the cleaning process.
Rinse and Check for Residue
After applying your selected cleaning solution, I recommend rinsing the affected area with a clean, damp cloth. This action helps to lift any remaining solution along with loosened debris. Ensure that you use cool water to avoid setting any stains.
Once rinsing is complete, inspect the area closely. Look for any lingering marks or discoloration. If traces persist, this indicates that additional treatment may be necessary. In that case, I would advise repeating the application process while being mindful of the fabric type, as some materials may be more sensitive to repeated cleaning.
Drying the spot is crucial; using a dry cloth, gently blot the damp area. This minimizes moisture and aids in assessing whether further cleaning is required. If the stain appears lifted and the fabric feels clean, you may proceed to the next step of the restoration process.
Repeat or Seek Professional Help
If attempts to clear the stain haven’t been successful, consider repeating the cleaning steps. Sometimes multiple applications of the stain treatment yield better results, especially with stubborn residues. Use fresh cleaning solutions each time to ensure effectiveness.
Should the situation remain unchanged despite these efforts, it might be time to consult experts. Professional cleaning services have access to specialized techniques and products that can tackle tough stains without damaging the material. They can assess the issue and apply tailored methods based on the specific characteristics of the upholstery.
When choosing a professional, look for reviews and recommendations to ensure quality. Their expertise can save time and potentially remediate damage that might occur from improper DIY attempts.