 Caleb Turner
The quickest approach involves applying rubbing alcohol or acetone to a clean cloth, gently blotting the stained area. Test the solution on a hidden part first to avoid discoloration. Avoid scrubbing, as this can spread the stain or damage the surface.
Another viable method is using a mixture of dish soap and warm water. Dampen a cloth with the soapy solution and blot the stain, then rinse with a separate cloth moistened with water. Blot dry with a towel.

For stubborn marks, a specialized upholstery cleaner may be necessary. Follow the manufacturer’s instructions carefully for the best results. Patience is key; sometimes multiple attempts yield the desired outcome.
Assessing the Type of Material
Identifying the material is vital for selecting the right cleaning method. Wood, leather, and fabric all require distinct approaches.
Wood
For wooden surfaces, knowing the finish (varnished, painted, or untreated) guides treatment. Use a gentle solvent for lacquered items, but avoid strong chemicals that might damage the finish. Always perform a spot test in an inconspicuous area to assess reactions before proceeding.
Leather
Leather mandates care; use mild soap and water for stains. Resins from some polishes can create persistent marks. Specialized leather cleaners work effectively without degrading the material. Always condition the leather afterward to maintain suppleness.
Fabrics are diverse, and methods differ widely based on the type. Test any cleaner on a hidden section first. Act quickly with water-soluble stains, using blotting techniques rather than rubbing to limit damage.
Gathering Necessary Cleaning Supplies
For removal of pigments from surfaces, specific items are required. Begin with acetone-based nail polish remover, which is highly effective in dissolving stubborn stains. If acetone is unavailable, rubbing alcohol can serve as a substitute. A soft cloth or cotton balls will facilitate the application of solvent without damaging the surface.
To mitigate oversaturation of the area, a spray bottle can be utilized for controlled distribution of the cleaning agent. For additional protection, use paper towels or old rags to absorb excess liquid. In the event of deeper stains, a gentle brush with soft bristles may assist in cleaning without scratching the surface.
Don’t overlook gloves; wearing them protects hands from harsh chemicals. Lastly, having a clean, dry cloth handy for immediate blotting is recommended to prevent further absorption of any residual solvent.
Testing the Cleaning Solution on a Hidden Area
Before applying any cleaning agent to the stained surface, it’s critical to conduct a patch test in an inconspicuous spot. This ensures that the solution won’t damage the finish or color.
- Select a discreet area, ideally on the underside or back of a drawer or leg.
- Apply a small amount of the cleaning mixture using a soft cloth or cotton swab.
- Gently blot the area, avoiding vigorous rubbing to prevent further damage.
- Observe the treated section for any discoloration or adverse reactions for several minutes.
If the test area remains unchanged, proceed with the cleaning process on the visible stain. If discoloration occurs, consider using a different solution or method for removal.
Applying the chosen cleaning method
Begin with the appropriate cleaner applied to a soft cloth or cotton ball. For delicate materials, dilute the solution with water as needed. Gently blot the stain, avoiding a vigorous rub that could damage the finish.
Maintain a light touch, working from the outer edge of the stain towards the center to prevent spreading. If using acetone, ensure it does not penetrate the surface too deeply. For non-acetone removers, the method remains the same; blot and lift rather than rub.
After several attempts, assess the stain’s response. If there is no visible improvement, consider retrying with a fresh section of the cloth or opting for a stronger solution. Always allow the area to dry fully before evaluating the effectiveness of the treatment.
Once the stain is removed, clean any residue with a damp cloth and dry the area thoroughly to prevent further damage or discoloration.
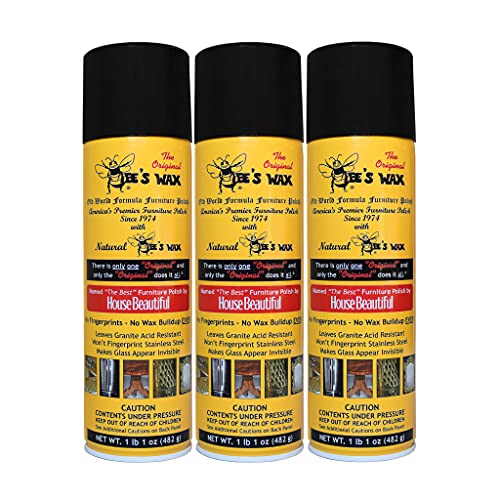
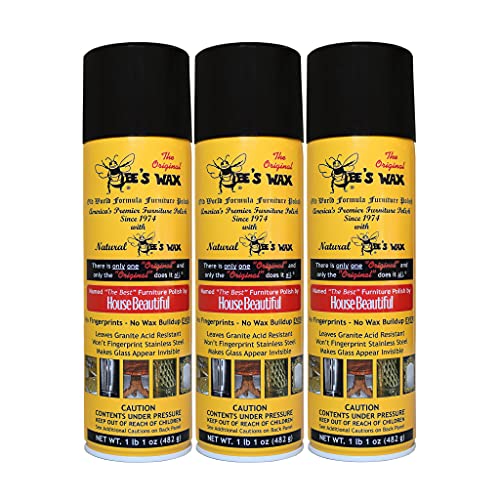
Finally, apply a suitable furniture polish to restore luster and protect the surface after the cleaning process is complete.
Removing Residue After the Stain Is Gone
To eliminate any remaining traces once the blemish has been addressed, first, inspect the surface closely for leftover products. Often, cleaning solutions may leave a film or residue that requires further attention.
Utilize a microfiber cloth slightly dampened with warm water. Gently wipe the area in circular motions to lift off any remaining remnants. It’s critical to avoid oversaturation to prevent damage.
If necessary, a mixture of mild dish soap and water can be employed. Mix one tablespoon of soap with two cups of water. Apply this solution using a clean cloth, ensuring it’s not soaking wet but just damp enough to facilitate cleaning.
Once applied, thoroughly dry the section with a separate, dry cloth to prevent moisture damage. Repeat this process as needed until the surface feels smooth and clean.
If residues persist, a commercial furniture polish or conditioner can be beneficial. Before application, ensure it is compatible with your specific material. Follow the product instructions carefully for optimal results.
| Material Type | Recommended Cleaning Method |
|---|---|
| Wood | Mild soap and warm water |
| Fabric | Fabric cleaner or upholstery shampoo |
| Plastic | All-purpose cleaner |
| Leather | Leather conditioner |
Lastly, it’s advisable to regularly treat surfaces with appropriate conditions or protective cares to maintain their appearance and prevent future issues. Regular upkeep can save time and effort when unintended marks occur again.
Dealing with stubborn stains
For persistent blemishes, a targeted approach is essential. First, I apply a small amount of rubbing alcohol or acetone to a microfiber cloth, ensuring it’s damp but not dripping. I gently dab, never rubbing, the stained area, allowing the solution to penetrate the mark for a few moments.
If the stain persists, I switch to a mixture of dish soap and warm water. By blending a few drops of mild detergent with water, I create a solution that can gently lift residue without damaging the surface. Using a soft cloth, I work this mix into the stain using circular motions.
For fabrics, a fabric-safe stain remover can be applied directly to the mark. I always follow the manufacturer’s guidelines, applying it and letting it sit for the recommended duration before blotting with a clean cloth.
In cases where the stain remains stubborn, I consider repeating the application a few times. Persistence often pays off without causing harm to the material. After successfully removing the stain, I rinse the affected area with clean water to eliminate any soap or cleaning agents. Finally, I dry the area gently with a soft towel.
Preventing Future Nail Polish Spills
Investing in a high-quality tray or mat while doing manicures can significantly minimize risks. A dedicated workspace keeps any run-off contained. Use a cover, such as an old towel or cloth, to protect surfaces during application and drying.
Consider using non-toxic polish options that have lower chances of permanent staining. Look for products marketed as easy-to-remove or quick-drying, which reduces the likelihood of accidents as they require less handling.
Always keep cleaning supplies within reach when using any cosmetic products. Having items like rubbing alcohol or specialized removers on hand means immediate action can be taken in case of an unintentional spill.
Establishing a designated area for beauty routines can help maintain organization. Ensure that this area is away from delicate or valuable pieces of décor, reducing the chances of encountering a mishap.
Regularly check and maintain the condition of furniture. Applying protective coatings or sealants can create a barrier against spills and stains, making it easier to clean up any mishaps that may occur.