
 Caleb Turner
First, gather a few basic supplies: a microfiber cloth, mild soap, water, and mineral oil. Dampen the cloth with a mixture of soap and water to gently wipe down surfaces, removing dust and grime. Avoid soaking the wood, as excess moisture can harm the finish.
After the initial wipe, dry the surface immediately with a clean, dry cloth. This prevents any water damage while ensuring a smooth finish. For stubborn stains or sticky spots, a little extra effort with the cloth should do the trick.
Next, apply mineral oil to nourish and protect the surface. A small amount goes a long way–rub it in using a soft cloth to enhance the natural shine and feed the grain. Allow it to absorb for about 15 minutes, then buff out any excess for a polished look.
To finish, inspect any joints or hardware and tighten loose screws to ensure stability. This attention to detail not only rejuvenates the piece but also prolongs its lifespan, making it a cherished addition to your home.


Cleaning Tips for Thrifted Wooden Pieces
Begin with a mixture of mild dish soap and warm water. Dampen a soft cloth in this solution, wring it out, and gently wipe the surface. This step removes dust and surface grime without risking damage.
Removing Stains and Marks
For stubborn stains, create a paste using baking soda and water. Apply it to the affected area, let it sit for a few minutes, then gently rub with a soft cloth. Rinse with a damp cloth to clear any residue.
Polishing and Protecting the Finish
Prepare a natural oil solution using equal parts olive oil and vinegar. Apply sparingly with a clean cloth, buffing in circular motions. This method helps rejuvenate shine and offers a protective layer against future wear.
Inspecting the Furniture for Damage
I always check for any cracks or splits in the surface. These can indicate weakness, and I assess whether they can be repaired or if they compromise the integrity of the piece. If I find scratches, I determine their depth; surface ones can often be fixed with a simple touch-up, while deeper gouges may need more intensive restoration.
I pay attention to the joints as well. Loose or wobbly joints suggest structural issues that need addressing. I press and shake the item slightly to test its stability. If I notice any movement, I consider reinforcing the joints with wood glue or dowels.
Next, I examine legs and support structures for signs of damage. Uneven legs can cause tipping, so I check for straightness and evenness. If one leg is shorter, I may need to add a furniture pad or trim the others down to even the height.
I also look for signs of pests. Small holes or sawdust in the crevices can indicate wood-boring insects. In such cases, I take extra precautions, like treating the piece with an insecticide or consulting a professional to ensure it’s pest-free.
Finally, I assess the finish. I check for peeling, discoloration, or water damage. A damaged finish not only affects aesthetics but can also expose the underlying material to moisture, leading to rot or further decay. I note if the finish needs stripping or refinishing to restore its appeal.
Choosing the Right Cleaning Supplies
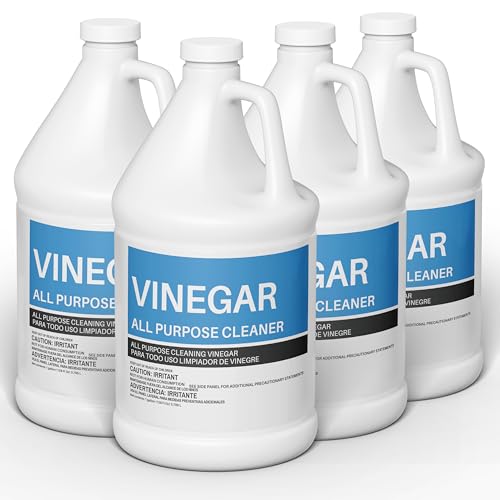
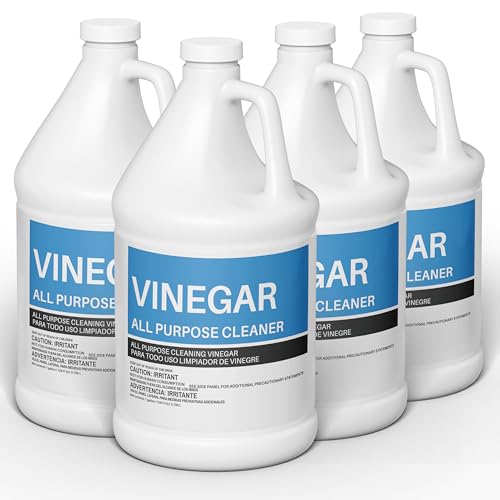
I always begin by gathering the most suitable materials for the task at hand. Microfiber cloths are my go-to for dusting and wiping surfaces, as they trap particles effectively without scratching the finish. A gentle, non-toxic cleaner specifically formulated for finishes is essential; natural options like a blend of vinegar and olive oil often work well without harsh chemicals.
For more stubborn residues, I select a soft-bristled brush or a sponge to avoid damaging delicate surfaces. A bucket of warm water is a must-have for rinsing tools and dampening cloths, ensuring I don’t leave any soapy residue. Additionally, I find it beneficial to keep cotton swabs handy for intricate carvings and tight corners, where dust accumulates easily.
I also recommend using gloves to protect my hands, especially when working with any cleaning products. Lastly, a soft towel for drying surfaces can help prevent water spots, ensuring a polished look after treatment.
Dusting and Removing Debris Properly
I recommend using a microfiber cloth for dusting. It effectively traps dust without scratching the surface. Start at the top and work your way down to avoid redistributing particles. For tight spots, such as crevices or intricate designs, a soft-bristle brush is ideal.
Before tackling larger debris, inspect the item for loose parts or cracks. If you notice any, proceed with caution to avoid further damage. When dealing with stubborn dirt, lightly dampen the cloth with water or a gentle solution meant for delicate materials. Ensure not to soak the fabric, as excess moisture can cause warping.
For items that haven’t been cleaned in a while, I suggest breaking the task into sections. Dusting one area at a time prevents overwhelming yourself and ensures thorough cleaning. When finished, check the cloth for any collected dust and debris and replace it as necessary to maintain effectiveness.
If there are sticky residues, a natural solution made from equal parts vinegar and water can safely assist in lifting the grime. Apply this mixture sparingly with a cloth and follow up with a dry one to prevent buildup.
Preparing a Safe Cleaning Solution
I recommend mixing a gentle solution that won’t harm delicate surfaces. Combine a cup of distilled white vinegar with a cup of olive oil. This combination helps in removing grime while moisturizing the material.
Ingredients
- 1 cup distilled white vinegar
- 1 cup olive oil
Additional Options
If I’m dealing with persistent stains, I might add a few drops of liquid castile soap. This natural soap is effective without being abrasive.
- 1-2 drops of liquid castile soap (optional)
Always conduct a spot test in an inconspicuous area to verify compatibility with the surface. If any discoloration or damage occurs, adjust the ratio or consider alternative ingredients.
For a pleasant scent, I sometimes infuse the solution with a few drops of essential oil, like lemon or lavender. This adds a fresh aroma while cleaning.
Testing on an Inconspicuous Area
I recommend always conducting a patch test on a hidden section before applying any solution broadly. Choose a spot that’s not easily seen; check for scratches, seams, or the underside if possible. Apply a small amount of your cleaning mixture using a soft cloth. Observe the reaction for a few minutes.
If there’s any discoloration, cloudiness, or change in texture, discontinue use immediately. It’s crucial to assess how the surface responds, as different types of finishes may react differently. After the test, ensure to dry that area thoroughly.
<p If everything appears stable and unchanged, proceed cautiously to clean the visible sections, maintaining a light touch. Always work in small areas, wiping off any excess residue promptly to avoid build-up.
Applying the Cleaner and Wiping Techniques
Begin by applying the chosen solution using a soft, lint-free cloth. Dampen the cloth lightly, ensuring it isn’t soaked. Excess liquid can harm the surface, so wring out any moisture before contact.
Use gentle, circular motions to distribute the cleaner evenly. This technique helps lift dirt and grime without scratching the finish. For stubborn spots, allow the solution to sit for a moment before wiping again.
Pay special attention to corners, joints, and intricate details where dust accumulates. A cotton swab can be useful for these hard-to-reach areas. After applying the mixture, immediately follow up by wiping with a clean, dry cloth to remove any residue.
In the event of sticky areas, consider repeating the process, applying a small amount of additional cleaner as needed. Avoid excessive scrubbing; if resistance persists, a gentle approach with more solution is preferable.
For surfaces that have absorbed moisture, I recommend letting them air dry properly after treatment. Ensure there’s adequate ventilation and avoid direct sunlight to prevent warping.
| Technique | Description |
|---|---|
| Damp Cloth Application | Lightly moisten a cloth, apply cleaner evenly. |
| Circular Motion | Use gentle circles to lift dirt without damage. |
| Focus on Details | Utilize tools like swabs for intricate areas. |
| Immediate Drying | Follow up with a dry cloth to remove excess moisture. |
Finishing with Protection and Polish
To achieve a polished appearance, I apply a protective finish tailored to the surface type. For porous materials, I choose a penetrating oil that nourishes and adds depth. Alternatively, for harder finishes, a high-quality wax works wonders. Here’s the step-by-step approach I follow:
- Ensure the surface is completely dry and free of any residual cleaning solution.
- Select the appropriate finish based on the furniture’s initial treatment. Common options include:
- Linseed oil for a natural look.
- Tung oil for enhanced durability.
- Paste wax for a classic protective layer.
- Using a clean, soft cloth, apply a thin layer of the chosen product. I always work in the direction of the grain to avoid streaks.
- After application, allow the product to soak in for the recommended time. Typically, this varies between 15 to 30 minutes.
- Buff the surface with another clean cloth to achieve a smooth, shiny finish. I often repeat this process for added protection.
Regular maintenance is key. Every few months, I reapply a layer of wax or oil to keep the piece looking its best and to protect against wear and tear.
For added sophistication, I sometimes incorporate a polish that contains beeswax. This not only enhances the sheen but also provides additional protection. Apply sparingly to avoid buildup.
By finishing with a protective layer and polish, I ensure that my vintage finds remain timeless and resist future damage.


