Caleb Turner

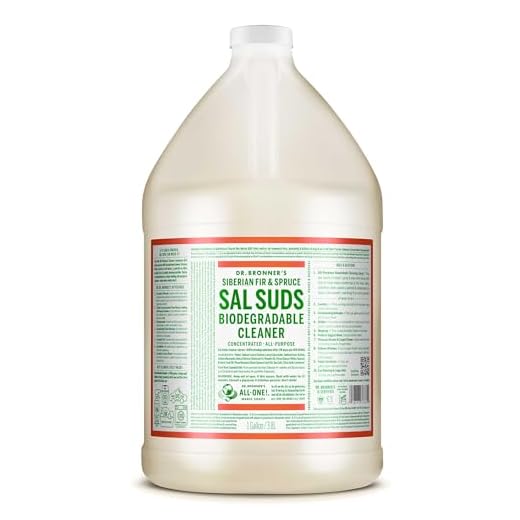
Use a soft, lint-free cloth to wipe the surface gently, ensuring no scratches appear. For stubborn residue, a mixture of warm water and a few drops of mild soap should do the trick. Apply the solution with a damp cloth, followed by a dry one to prevent moisture damage.
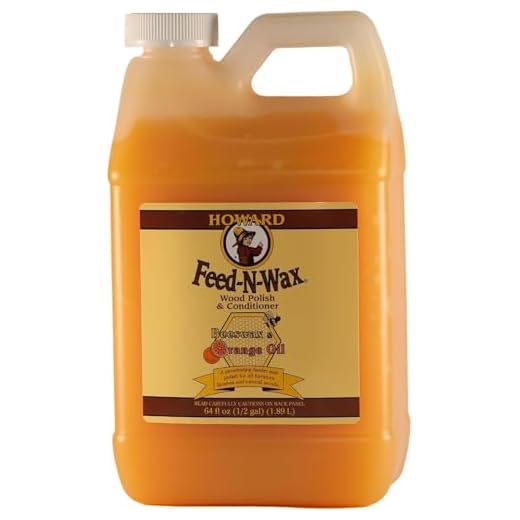
Once clean, a nourishing wax can restore the shine and protect from future blemishes. Look for a natural beeswax or carnauba wax, applying it with a soft cloth in circular motions. Allow it to sit for a few minutes before buffing with another clean cloth.

Avoid using abrasive cleaners or harsh chemicals that could strip away the finish or damage the finish. Regular maintenance includes dusting with a soft cloth and ensuring the environment is not too dry or humid, as wood can expand or contract, leading to cracks.
How to Maintain Mid-Century Furniture
I recommend using a solution of equal parts vinegar and olive oil. This mixture not only cleans but also nourishes the finish.
For tackling stubborn marks, consider the following steps:
- Gently rub the affected area with a soft cloth dampened in the vinegar solution.
- For deeper scratches, you can fill them with a matching color wood filler. Allow it to dry before sanding lightly and applying the solution again.
Dusting regularly is key. I find that a microfiber cloth works wonders, as it attracts dust without scratching surfaces.
Be cautious with water exposure; excess moisture can warp the material. Always use a barely damp cloth for wiping down.
For regular maintenance, apply a quality furniture polish every few months to keep surfaces gleaming and protected.
Avoid placing items directly on surfaces; use coasters and mats to prevent damage from heat and moisture.
Assessing the Type of Finish on Your Furniture
I begin by checking if the surface has a sheen. Glossy finishes often indicate polyurethane or varnish, while satin or matte surfaces may suggest oil or shellac. This distinction helps determine the right approach for maintenance.
Next, I perform a water test. I drop a small amount of water on the surface. If it beads up, the finish is likely polyurethane. If it soaks in, the piece may have an oil or wax finish. This quick check gives insight into the protective layer you’re dealing with.
Feel and Appearance
I carefully touch the surface. A tactile examination can reveal a lot. If it feels smooth and cool, it’s possibly lacquered or varnished. Conversely, a warm, slightly tacky feel typically suggests oil. I also inspect for any imperfections like chipping or fading, indicating the need for different treatment methods.
Checking for Odor
Sometimes, a subtle smell can indicate the kind of finish. An oil finish has a natural scent, while synthetic coatings might emit a chemical aroma. I take a moment to observe this, as it can help me choose cleaning products that are compatible with the finish type.
By assessing these characteristics–sheen, water response, texture, and odor–I can make an informed choice about how to proceed with the preservation and upkeep of each piece effectively.
Gathering Safe Cleaning Supplies for Wood
For maintaining the beauty of vintage pieces, I rely on a few specific items. First, I ensure I have a gentle soap, such as liquid castile, which effectively removes grime without damaging surfaces.
Next, I grab a microfiber cloth. This fabric is soft and helps in avoiding scratches, making it perfect for delicate finishes. It’s essential to use a clean cloth each time to prevent transferring dirt.
I also prefer natural oils, like linseed or walnut oil, which nourish the grain while providing a protective layer. Just a few drops on a cloth are sufficient for application.
A vinegar solution, mixing equal parts with water, serves as an excellent mild disinfectant. It’s effective for light stains or sticky residues.
Finally, I ensure to have a soft broom or vacuum attachment for removing loose dust, which is critical before any treatment to avoid scratches.
Dusting Techniques to Avoid Damage
I recommend using a soft, lint-free microfiber cloth for dusting. This material effectively traps dust without scratching surfaces. When dusting, always move in the direction of the wood grain to prevent scuffing or dulling the finish.
For intricate designs or carved areas, a small, soft-bristled brush works well. Gently work the brush in and out of crevices to remove debris. Avoid using stiff brushes or cloths that can cause harm.
Avoid dampening the cloth unless absolutely necessary. If moisture is needed, lightly mist the cloth with water instead of applying it directly to the surface. Excess moisture can warp or damage delicate finishes.
Never use paper towels or abrasive materials; these can scratch and lead to premature wear. Always keep a separate cloth for each piece to avoid cross-contamination of dirt and oils from one item to another.
Set a regular dusting schedule to reduce buildup. Regular maintenance is key to preserving the beauty and integrity of your vintage pieces, minimizing the need for deeper cleaning methods.
Removing Stains Without Scratching the Surface
Use a soft, lint-free cloth for stain removal, dampened with a mixture of water and a few drops of mild dish soap. Gently blot the stained area without rubbing, as this can damage the finish.
For more stubborn marks, try a gentle paste of baking soda and water. Apply it with a cloth, allowing it to sit for a few minutes before wiping away. Always perform a spot test in an inconspicuous area first to ensure that no abrasion occurs.
If you encounter water rings, a dab of mayonnaise or petroleum jelly can effectively lift the stain. Allow it to sit for several hours or overnight, then wipe it away with a clean cloth.
For sticky residue, use rubbing alcohol on a soft cloth, but only dab the affected area lightly to avoid harming the surrounding finish.
Always dry the area immediately after treatment to prevent moisture from seeping into the grain. Following these methods aims to preserve the integrity of your piece while tackling those pesky blemishes.
Polishing for Shine and Protection
To enhance the luster of your vintage pieces, choose a quality furniture polish that contains natural oils. I prefer products that feature beeswax or carnauba wax, as they effectively nourish the timber while providing a protective layer against moisture and dust.
Apply the polish using a soft, lint-free cloth. Circular motions yield the best results, ensuring even coverage without streaks. I often find that a second application, after the initial polish has dried, significantly boosts the shine.
To avoid buildup, limit the frequency of polishing. Once every three to six months is typically adequate, depending on the level of use and exposure to sunlight. Remember, too much wax can dull the finish over time.
When I notice areas that lack shine, I focus on those spots during application, gently buffing them to restore their original luster. For the best results, use a different cloth for buffing to avoid transferring excess product back onto the surface.
Regularly treating your vintage pieces not only maintains their beauty but also helps guard against everyday wear. This simple ritual ensures your cherished possessions remain as stunning as the day you acquired them.
Dealing with Water Rings and Heat Marks
To remove water rings and heat marks, I focus on a few practical approaches that have proven effective.
-
Mayonnaise Method:
I apply a small amount of mayonnaise directly onto the affected area. After covering it, I let it sit for about 15-20 minutes. The oils in mayonnaise penetrate and help lift the marks. Wiping it off with a soft cloth reveals a smoother surface.
-
Heat from a Hair Dryer:
Using low heat, I gently warm the area while keeping the dryer a few inches away. This can sometimes help lift the moisture trapped in the finish. I move the dryer in a circular motion to ensure even heat distribution and prevent damage.
-
Baking Soda Paste:
I mix baking soda with a bit of water to create a paste. Applying this mixture to the stain and gently rubbing with a soft cloth can help lift the mark. Afterward, I wipe it clean with a damp cloth and dry the surface.
-
Toothpaste Technique:
I use a non-gel, non-whitening toothpaste as it is mildly abrasive. I apply a small amount on a soft cloth and rub it gently over the mark. This method removes the stain without scratching the finish.
-
Commercial Products:
If natural remedies don’t work, I consider using a specialized product designed for removing such stains. I follow the instructions carefully and always test in an inconspicuous area first.
After tackling the stains, I ensure to polish the area to restore shine and safeguard against future damage. Regular maintenance is key to preserving these pieces for years to come.
Applying Conditioners for Longevity
Regularly using a quality conditioner will keep the surfaces of your antique pieces nourished and looking good. I recommend choosing a product specifically made for oiled or lacquered surfaces. These conditioners provide essential moisture, preventing the timber from drying out and cracking.
Types of Conditioners
Opt for natural oil-based conditioners like lemon oil or walnut oil, which penetrate deeply and enhance the appearance. Avoid silicone-based products, as they can create a harmful buildup that is difficult to remove. When applying, use a soft, lint-free cloth to ensure even distribution and to prevent any streaking.
Application Technique
Apply a small amount of conditioner onto the cloth, then gently rub it onto the surface in the direction of the grain. Less is more; over-saturating can lead to a sticky residue. Allow the wood to absorb the product for about 10-15 minutes before wiping off any excess with a clean cloth for a polished finish.
Regular Maintenance Tips to Preserve Quality
To maintain the integrity of vintage pieces, I recommend a regular dusting schedule. Using a microfiber cloth helps trap dust and particles without scratching surfaces. Aim for a bi-weekly routine to minimize buildup.
Humidity Control
Keeping the environment stable is key. Utilize a humidifier during dry seasons to prevent cracking and warping. Ideally, maintaining humidity levels between 40-60% is beneficial for preservation.
Temperature Awareness
Avoid placing these treasures near heat sources such as radiators or direct sunlight. Fluctuating temperatures can lead to finish deterioration. A consistent temperature around 70°F is ideal.
| Tip | Frequency |
|---|---|
| Dusting | Every 1-2 weeks |
| Humidity Check | Monthly |
| Temperature Monitoring | Continuous |
Consider an annual inspection for any signs of wear, such as scratches or fading. A small touch-up can prolong the life of the piece. By implementing these consistent practices, I’m able to enjoy these classic items for years to come.