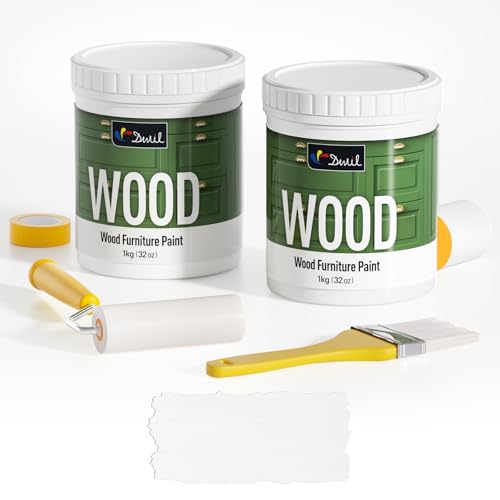
Caleb Turner
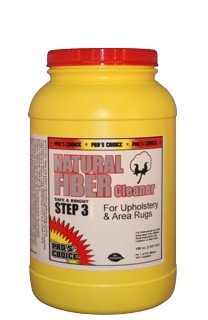
I recommend applying a protective varnish designed specifically for natural fibers. This step creates a barrier against moisture and dirt, enhancing durability without compromising the organic appearance. Carefully choose a high-quality product to ensure the right finish, providing both sheen and longevity.
Before treatment, clean the woven surface thoroughly using a soft brush or cloth. This removes any dust or debris, ensuring a smooth application. Allow the item to dry completely, as moisture can interfere with the adhesion of the varnish.
When applying the sealant, use a brush to distribute a thin, even layer, and avoid oversaturating the fibers. It’s advisable to work in a well-ventilated area and to follow the manufacturer’s instructions regarding drying times and the number of coats needed for optimal protection.
Regular maintenance involves periodic reapplication as needed, particularly in high-traffic areas. Keeping a consistent care routine will significantly extend the lifespan of your braided pieces while retaining their natural beauty.
Application Technique for Protection of Seagrass Creations
First, choose a suitable natural finish like tung oil or beeswax. These options penetrate the fibers and create a durable barrier. Use a soft cloth to apply the product evenly across the surface, ensuring you cover every inch.


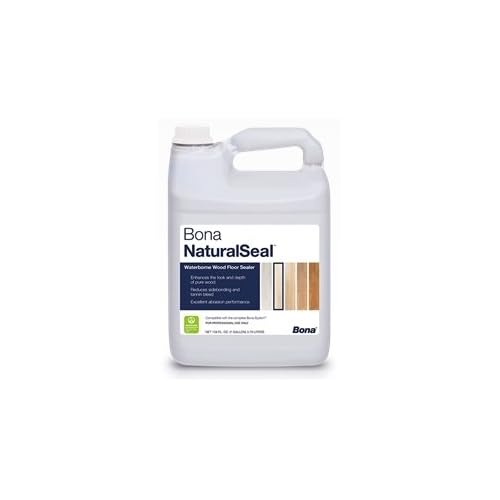
Allow the coating to absorb for a few minutes, then buff with a clean, dry cloth to enhance shine and remove excess product. Repeat this process a couple of times for added protection, letting each layer cure as per the manufacturer’s instructions.
Maintenance and Care
Regular dusting is vital to maintain the appearance. Use a soft brush attachment on your vacuum to remove dirt without damaging the material. Additionally, wipe spills immediately with a damp cloth to prevent staining.
Long-term Preservation
For ongoing care, refresh the protective finish every six months by lightly buffing and reapplying the oil or wax. This will extend the lifespan of your decorative piece and keep it looking new.
Choosing the Right Sealant for Seagrass
I recommend selecting a water-based polyurethane for its durability and ease of application. This type of finish penetrates well, providing a protective layer that enhances the natural look of woven fibers. When shopping, consider products with low VOCs to minimize harmful emissions.
Key Characteristics to Look For
For optimal results, choose sealants that offer UV protection. This prevents fading and maintains the vibrancy of the material over time. Look for options labeled as both clear and matte, as these types won’t alter the original color while providing a protective barrier against moisture and stains.
Application Tips
Prepare the surface meticulously by cleaning it of dust and debris. I recommend applying the sealant with a sponge or a soft brush to ensure even distribution. Allow proper drying time between coats, typically around 2-3 hours, to achieve a robust finish. Reapply as necessary to maintain the protective layer every few years, depending on usage and exposure to elements.
Preparing Seagrass Furniture for Sealing
Ensure thorough cleaning prior to applying a protective coating. Use a soft brush or a vacuum with a brush attachment to remove dust, dirt, and debris from the surface. Pay close attention to the weaves and crevices where dirt can accumulate.
Next, if there are any stains or marks, utilize a damp cloth with mild soap. Avoid soaking the material; dampen the cloth sparingly. Wipe gently in the direction of the weave to preserve the integrity of the fibers.
After cleaning, allow the piece to air dry completely. Avoid direct sunlight or high heat, as these conditions can cause drying and damage. This step is crucial to ensure that moisture doesn’t interfere with the application of the protective product.
Once dry, inspect for any imperfections. Repair any loose weaves or damages before proceeding. A sturdy adhesive can be used for minor repairs, ensuring it is suitable for natural fibers.
Consider applying a test area with your chosen coating to check for compatibility and finish. This will help determine the final look and ensure there are no adverse reactions.
Lastly, gather necessary supplies: gloves for hand protection, a quality brush or roller for application, and a clean, well-ventilated workspace to avoid triggers from fumes.
Cleaning Techniques for Seagrass Before Sealing
I recommend using a soft, dry brush to remove dust and debris from the surface of the natural fiber. Ensure that you go with the grain to prevent damage.
For stubborn stains, a mixture of mild soap and warm water can be effective. Dampen a cloth with this solution, then gently blot the stained area. Avoid soaking the material, as excessive moisture can lead to mold growth.
After spot cleaning, use a vacuum cleaner with a brush attachment to thoroughly eliminate particles trapped within the woven fibers. This step is crucial for maintaining the integrity of the structure.
To refresh the appearance, I suggest applying a steam cleaner at a distance. This can help lift any deeper embedded dirt without soaking the material.
Once cleaned, allowing the item to dry completely in a well-ventilated area is essential. This stage prepares the surface for the application of the finishing product, ensuring optimal adhesion and preventing moisture-related issues.
Step-by-Step Application of Sealant
Prepare an adequate workspace; consider a well-ventilated area to allow fumes to dissipate. Ensure you have protective gloves and a mask on hand to guard against any irritants.
1. Select the Right Tool
I prefer using a clean, foam brush or a soft cloth for applying the protectant. These tools ensure an even coat and minimize excess drips.
2. Application Process
Dip your chosen applicator into the sealant thoroughly but avoid over-saturation. Start applying the coating thinly at one corner, working it into the material in smooth, even strokes. Pay special attention to corners and seams where wear is more likely.
Allow the first coat to sit for the recommended time according to the product’s guidelines. I typically wait until it’s dry to the touch before inspecting for any missed spots.
If additional coats are specified, repeat the application process. Multiple thin layers tend to provide greater durability than a single thick one.
After finishing, clean any excess sealant from surfaces not meant to be protected immediately. I find using a damp cloth is effective for this task before it sets.
Finally, leave the piece undisturbed for the duration recommended for curing. This step ensures optimal protection and durability.
Tools Needed for Sealing Seagrass Furniture
Gathering the right supplies is crucial for a successful project. You’ll need a high-quality sealant specifically designed for natural materials. A paintbrush or a foam applicator will help ensure an even coat. For smaller areas or intricate designs, a spray bottle may be beneficial.
A clean cloth is essential for any cleanup or touch-up tasks during the process. A vacuum or soft brush can be helpful in removing dust before applying the protective layer. For those wanting to ensure even application, a paint tray or shallow dish can assist in holding the sealant.
Wear gloves to protect your hands from any chemicals. Additionally, a mask is advisable if working in a space with strong fumes, ensuring comfort while you enhance your items. Lastly, be prepared with a drop cloth to protect surrounding areas from spills or drips, maintaining a tidy work environment.
Drying Times and Curing Process
Immediately after applying the protective coating, I allow sufficient time for it to dry based on the type of product used. Water-based finishes typically take about 2 to 4 hours to dry to the touch, while oil-based options may need 6 to 8 hours. I prioritize these drying times to ensure optimal bonding.
Curing is essential to reach full durability and resistance. For water-based treatments, I allow at least 24 to 48 hours before heavy use. Oil-based finishes usually require a week or more to cure completely. I check the label for manufacturer recommendations, as this can vary between brands.
Humidity and temperature can greatly influence drying and curing times. In a warm and dry environment, the process speeds up. Conversely, high humidity may extend the time needed. I monitor conditions closely to ensure the best outcome.
| Finish Type | Drying Time (Hours) | Curing Time (Days) |
|---|---|---|
| Water-based | 2 – 4 | 1 – 2 |
| Oil-based | 6 – 8 | 7 – 14 |
After the initial drying, I refrain from placing any items on the surface until the full curing process has concluded. This ensures that the protective layer adheres correctly and remains effective over time.
Maintaining Sealed Seagrass Furniture
Regular dusting with a soft microfiber cloth prevents dust accumulation and maintains the appearance of your pieces. I recommend doing this weekly, especially in high-traffic areas.
Avoid exposure to direct sunlight, which can cause fading and weaken the fibers. Place items in shaded spots or use window treatments to diffuse light. Additionally, keeping humidity levels moderate–around 40-60%–helps preserve the integrity and flexibility of the woven materials.
Handling Spills and Stains
In case of spills, blot the area immediately with a clean, dry cloth. Avoid rubbing, as this can push the liquid deeper into the weave. For stains, use a mild soap solution and a soft cloth. Test any cleaner on an inconspicuous area first to ensure there’s no adverse reaction.
Periodic Refreshing of Protectants
Every 6-12 months, reapply the protective layer following the product’s instructions. This maintains the barrier against moisture and dirt, ensuring longevity. Regular maintenance actions extend the lifespan of your treasured items, keeping them beautiful and functional for years to come.
Identifying Signs of Damage on Sealed Seagrass
Regular inspection is key to preserving the integrity of natural fiber items. Start by visually examining the surface for any discoloration or fading. These changes might indicate that the protective layer is wearing off.
Look for fraying edges or lifted fibers. The appearance of loose strands often signals that exposure to moisture or physical stress is compromising the material.
- Water Stains: Markings may appear if the item has been in contact with liquids. Immediate action is necessary to prevent further absorption.
- Cracking or Chipping: Hard or brittle spots may develop, indicating that the coating isn’t offering adequate protection anymore.
- Odor: A musty smell suggests mold or mildew formation, signaling that moisture has penetrated deeply.
It’s beneficial to occasionally run a hand over the surface. Any roughness or irregular texture can hint at wear beneath the finish. In areas that receive high traffic or usage, such as seats or tabletops, pay extra attention.
Establishing a routine check-up schedule should help catch these issues early. Documenting these findings can provide insights into when additional maintenance is required.
Reapplying Sealant: When and How
I recommend checking the protective layer every six months to a year. If the surface appears dull or shows signs of wear, it’s time for another application. Pay attention to areas that receive more use, as they wear down faster.
Steps for Reapplication
Start by thoroughly cleaning the item to remove dust and debris. Use a mild soap solution and a soft cloth for this task. Once dry, inspect the finish for any imperfections. If necessary, lightly sand the surface to create a key for the new coat, then wipe off any dust.
Apply the new coating evenly, using a brush or spray depending on the product’s instructions. Ensure to cover all areas consistently, especially corners and edges. Allow the finish to cure as per the manufacturer’s guidance before placing the item back into regular use.
Aftercare
Keeping the item in a stable environment, away from direct sunlight and high humidity, prolongs the lifespan of the coating. Regularly dusting and avoiding abrasive cleaners will maintain the finish’s integrity between applications.