Caleb Turner
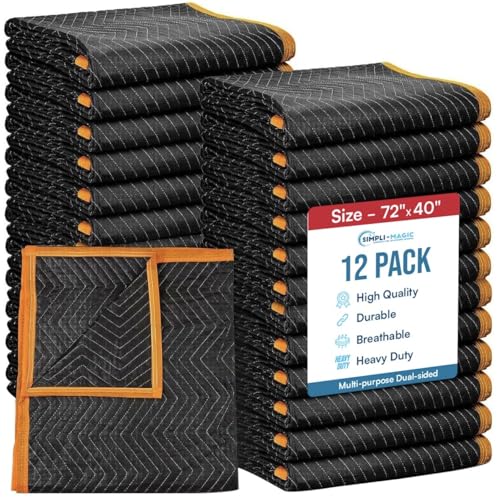
Secure items using moving blankets or bubble wrap to ensure against scratches and damage. Pay special attention to corners and edges, which are most prone to wear during transit. Tape edges of the wrap tightly to keep everything in place.
Disassemble larger pieces such as beds and dining tables. Keep screws and small parts in labeled bags, attaching them to the corresponding item. This method simplifies reassembly at your new place and prevents misplacing essential components.
For upholstered seating, vacuum thoroughly to eliminate dust and debris. If possible, remove any removable covers and wash them to freshen up the fabric. This extra step can contribute to a cleaner environment when you settle in.
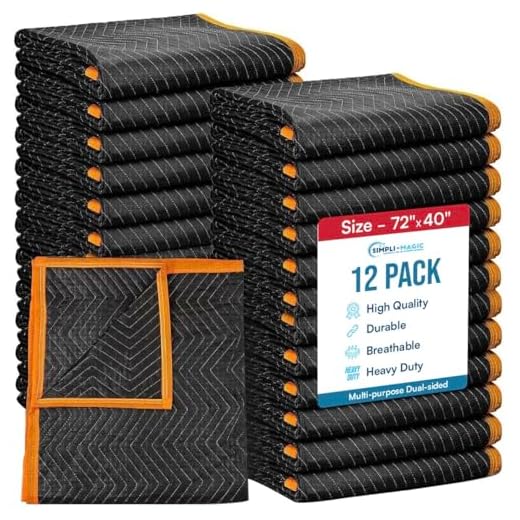

Protect wooden surfaces by applying a thin layer of a furniture polish or wax. This creates a barrier against moisture and damage during transport. Make sure to dry the polish completely before wrapping the items for added protection.
Take inventory of everything being transported. Document each piece with photos and descriptions to verify that nothing gets lost. A checklist not only aids in tracking but also helps with organization during unloading at the destination.
Label boxes meticulously. Indicate the contents and which room they belong to, speeding up the unpacking process. Using color-coded labels can further streamline this task, allowing movers to easily identify where each item should go.
Preparation Steps for Relocating Household Items
Ensure each piece is clean before transportation. Dust and debris can scratch surfaces during transit.
- Disassemble large items like beds and tables. Keep screws and small parts in labeled bags to avoid loss.
- Use moving blankets or bubble wrap for padding. Cover all corners and edges, especially for glass elements.
- Secure doors and drawers with tape or stretch wrap to prevent them from opening during travel.
- Utilize sturdy boxes for smaller elements. Reinforce the bottoms and pack carefully to prevent collapse.
Label every box clearly. Write a brief description of the contents on the side to ease unpacking.
- Begin with heavier items at the bottom of the vehicle.
- Arrange lighter pieces on top, ensuring a secure fit to avoid shifting.
- Fill empty spaces with cushions to minimize movement.
Inspect each item upon unloading for any damage. This allows for immediate remedy if needed.
Assess and Document Your Items
I always begin by carefully evaluating each piece I own. This entails measuring the dimensions of all items, including height, width, and depth, to ensure they fit in the new location. I jot down measurements in a notebook or a digital document for easy access later on.
Condition Assessment
Next, I examine the state of each article. Scratches, dents, and stains are noted, as this information can help when deciding whether to repair or replace an item. I take photographs from various angles to capture their current condition. This visual record is invaluable when discussing with movers or potential buyers.
Prioritize and Categorize
Once I’ve documented everything, I categorize my possessions. This includes separating items into groups: what to keep, donate, sell, or discard. I label boxes accordingly so I can identify their contents and ensure my new setup is organized.
By meticulously assessing and documenting my belongings, I am equipped with all the necessary information to streamline the relocation process and make informed decisions about each item.
Disassemble Large Pieces Safely
Before attempting to take apart sizable items, gather necessary tools: a screwdriver set, wrench, and pliers. Protect surfaces by placing a blanket under the item. Begin by removing all detachable parts, such as shelves, cushions, and legs.
Label each piece as you disconnect it, using tape and a marker for easy identification during reassembly. Keep screws and other small fasteners in a clearly marked bag or container. Take photos at each stage as a reference for reassembly.
For larger structures like beds or cabinets, ensure to enlist help. Supportive hands minimize the risk of damage to both the item and surrounding space. Lift components carefully, using proper techniques: bend at the knees and maintain a straight back.
Lastly, if you encounter odd shapes or unique assembly systems, consult the manufacturer’s instructions or search online resources for guidance. Understanding how each piece fits together can prevent unnecessary breaks or wear.
Clean and Dust Before Packing
I always make it a point to clean and dust my items thoroughly before any relocation. Accumulated dirt and grime not only detract from the appearance but can also cause damage during transit. I use a microfiber cloth to wipe surfaces, ensuring that dust is removed from corners and crevices where it tends to gather.
Lifting items like lamps or decor allows access to areas that are otherwise hard to reach. For more robust pieces, a vacuum with an attachment works wonders to suck up dust and debris without scratching surfaces. This is especially important for electronics; a gentle dusting can prevent overheating issues later.
After cleaning, I also check for any maintenance needs. Tightening screws or fixing minor scratches means my belongings remain in good shape during transport. I find that applying a protective wax on wooden surfaces provides extra defense against wear and tear.
Finally, I give everything a moment to air out, ensuring that no residues or cleaning products remain on surfaces. This step is key to keeping items fresh and ready for unpacking at the new destination.
Gather Necessary Packing Materials
I ensure I have all required supplies before starting the packing phase. The right materials make a significant difference in safeguarding items during transport. Here’s a detailed list of what I gather:
Supplies List
| Material | Purpose |
|---|---|
| Bubble Wrap | Cushions fragile items from impacts |
| Packing Paper | Fills spaces and protects surfaces |
| Stretch Film | Secures smaller parts and prevents scratches |
| Cardboard Boxes | Provides sturdy containers for various items |
| Packing Tape | Seals boxes and keeps contents secure |
| Markers | Labels boxes for easy identification |
I also maintain a stock of furniture pads or blankets for larger pieces. These provide an extra layer of protection, especially for delicate finishes. Having all of this on hand helps streamline the entire process and minimizes the risk of damage to belongings.
Wrap and Protect Each Item Carefully
I ensure that every piece is well-protected to prevent damage during transportation. First, I use bubble wrap or furniture pads to cover surfaces. For delicate items, I wrap them individually, securing the ends with packing tape. This minimizes the risk of scratches or breakages.
Use Appropriate Materials
I select materials based on the item’s nature. Sofas and chairs are usually shielded with moving blankets for cushioning, while glass tables require thicker bubble wrap. Any sharp edges are covered with corner protectors, which I secure tightly to prevent any accidental contact.
Label Wrapped Items
After wrapping, I label each securely to streamline unpacking. I use clear labels or markers to indicate what’s inside each package. This helps avoid confusion when setting up the new space, allowing for a more organized process once everything arrives at the destination.
Label Boxes and Furniture Components Clearly
Each box or item should have a descriptive label indicating its contents and the room it belongs to. Use bold markers that are easy to read from a distance. For boxes, note whether they contain fragile items; this will help handlers exercise caution. Create a color-coded system based on the rooms in your new space for even clearer organization.
Detailing Components
For disassembled items, label each piece individually. Use adhesive labels to mark screws, brackets, and any small components inside resealable bags. This avoids confusion during reassembly. Detailed instructions can also accompany these parts, simplifying the setup process at your new location.
Inventory List
Maintain an inventory list that correlates with your labeled items. Number each box and item, and document its contents beside that number on your list. This makes tracking everything after relocation seamless and helps identify any missing items quickly.
Plan the Loading Order for the Moving Vehicle
Prioritize loading heavier pieces first, such as appliances and large tables, at the back of the transport. This creates a stable base and lowers the risk of tipping during transit.
Steps to Optimize Loading
- Start with the largest items; they fit snugly against the walls.
- Position heavy boxes on the floor, distributing weight evenly.
- Follow with medium-sized objects to fill gaps without stacking too high.
- Finish with lighter and fragile components at the top to avoid damage.
Additional Tips
- Utilize straps or ropes to secure items in place, preventing shifting.
- Leave some accessible space for quick retrieval of essentials upon arrival.
- Consider the order of unloading–load items that will be unloaded first at the door of the vehicle.