For the best results in erasing ink marks from wooden surfaces, I recommend using rubbing alcohol. Dampen a clean cloth with this solution and gently dab the stained area. Avoid saturating the wood, as excessive moisture can cause damage.
If rubbing alcohol is not available, a mixture of equal parts vinegar and water serves as a suitable alternative. Apply it to a soft cloth, then softly rub the marks in a circular motion. This method not only helps in removing stains but also leaves the surface looking refreshed.
In more stubborn cases, consider using a magic eraser. Gently rub it over the affected area; its fine abrasiveness can effectively lift the ink without harming the finish of the wood. Always test any method in an inconspicuous area first to ensure there is no adverse effect on the surface.
Once the marks are removed, I advise wiping down the area with a clean, dry cloth to eliminate any residue from the cleaning agents. A final application of furniture polish can restore shine and protect the wood, keeping it looking its best.

Identify the Type of Wood Finish
The first step is determining the type of finish on the surface. Identifying the finish influences the cleaning approach.

Common Wood Finishes
- Varnish: This type is hard and protective. It often has a glossy appearance and can resist solvents.
- Shellac: Shellac provides a warm tone and is less resistant to moisture. Avoid using harsh chemicals as they may damage it.
- Oil Finish: Oil finishes, like tung or linseed, penetrate the wood. These require careful handling, as some solvents can harm them.
- Lacquer: Known for its quick-drying properties, lacquer has a distinctive shine. It’s sensitive to solvents, requiring caution during cleaning.
- Paint: If a piece is painted, the type of paint used should also be considered before trying any removal method.
Testing for the Finish
Conduct a simple test to identify the finish:
- Apply a small amount of denatured alcohol on a cotton ball.
- Gently rub an inconspicuous area.
- If the finish dissolves or softens, it’s likely shellac or lacquer. If it remains unaffected, it’s probably varnish or oil-based.
Understanding the finish type helps in selecting suitable cleaning methods, ensuring the integrity of the surface.
Choose the Right Cleaning Solution
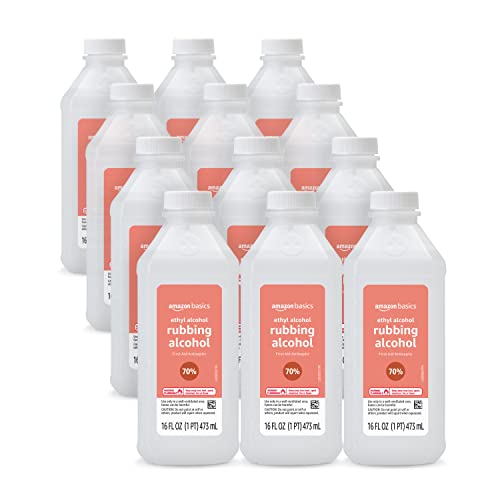
For tackling stains, I prefer starting with isopropyl alcohol, ideally a concentration around 70%. I find it effective without being too harsh on finishes. Apply a small amount to a soft cloth and gently rub the affected area, being cautious not to damage the surface.
If alcohol doesn’t work, I switch to a vinegar-water solution. Mixing equal parts can help lift stubborn marks. It’s gentle yet powerful enough for many finishes. Always test on a hidden spot before applying more broadly.
Another option I’ve used successfully is commercial cleaners specifically designed for such ink stains. These products often contain solvents that break down the pigments effectively and are usually safe for most surfaces. Always check label instructions for compatibility with types of finish.
For natural solutions, I recommend using a baking soda paste, combining it with water. I find its mild abrasive properties can help scrub away marks without scratching the surface. Just ensure to rinse and wipe clean afterward to avoid residue.
In case of persistent stains, I also consider using mineral spirits, which can be quite effective for oil-based inks. I apply a small amount on a cloth and work gently. Again, testing in an inconspicuous area first is essential to prevent potential damage.
Apply the Cleaning Method Carefully
I recommend using a cotton ball or a soft cloth to apply the solution directly to the marked area. This approach prevents excessive liquid from saturating the surrounding surface, which could lead to additional damage or discoloration.
Gently dab the affected section, avoiding any vigorous rubbing that might harm the finish. Maintain a light touch and work from the outside of the stain towards the center to minimize the spread of ink.
After a few seconds, I check the progress by gently wiping away the cleaner with a clean cloth. If residues remain, I repeat the dabbing process, being cautious not to oversaturate. This method allows for controlled cleaning without jeopardizing the furniture’s integrity.
Always keep a second cloth nearby to wipe off any excess product. Assess the area periodically to gauge the effectiveness of the method being used.
Once I achieve the desired result, I ensure to clean the area with a dry cloth to eliminate any leftover residue, and gas the surface to restore its original shine if applicable.
Test on a Hidden Area First
Before applying any cleaning solution, I recommend finding a discreet spot on the surface to assess the product’s compatibility with the finish. This could be an inconspicuous corner or underneath a piece. Dab a small amount of the cleaner on a soft cloth and gently rub the area. Observe any color change, damage, or reaction. It’s crucial to determine if the wood reacts negatively before proceeding with larger areas. This simple test can prevent potential damage, ensuring the finish remains intact.
Rinse and Dry the Area Thoroughly
After using your chosen cleaning solution, the next step is to ensure the area is properly rinsed. Dampen a clean cloth with warm water and gently wipe the surface where the mark was treated. This action helps to remove any leftover residue from the cleaning agent, which can be harmful to the finish if left unattended.
Once rinsed, it’s crucial to dry the area completely. Use a dry, soft towel or microfiber cloth to absorb moisture. This protects against water damage and maintains the integrity of the finish. Ensure that no moisture is left behind, as prolonged dampness can cause warping or other damage to the material.
Final Inspection
After drying, inspect the surface closely. Check for any remaining discoloration or changes in texture. If needed, reapply a small amount of the cleaning solution, rinse, and dry again. Taking the time to thoroughly rinse and dry ensures a clean result without compromising the quality of the surface.
Restore the Finish if Necessary
If the surface finish is damaged after the removal process, consider applying a suitable restorer. I recommend using a product designed for the specific finish type–such as wax, oil, or polyurethane. Start by cleaning the area thoroughly to remove any residues or dust.
For wax finishes, use a soft cloth to gently buff the area with a quality furniture wax, applying in the direction of the grain. For an oiled surface, I find that applying a few drops of mineral oil works wonders. Rub it in gently and let it absorb before buffing it to a shine.
If the finish is polyurethane or a similar coating, a light sanding of the specific area may be necessary. Use fine-grit sandpaper (around 220-grit) and lightly sand until smooth. Afterward, apply a compatible finish layer to blend and restore the luster.
Always follow up with a thorough inspection to ensure an even appearance. This can enhance the overall look and longevity of the surface.


