
 Caleb Turner

The first step in addressing the shine left behind on your hardwood surface involves a mix of warm water and vinegar. This natural solution effectively breaks down the residue without damaging the finish. Combine one part vinegar with ten parts water in a clean spray bottle or bucket.
After preparing the mixture, dampen a soft cloth with the solution, ensuring it’s not overly wet. Gently wipe the affected area, allowing the mixture to penetrate the residue. For stubborn spots, let the solution sit for a few minutes before wiping.
If the initial attempt does not fully remove the buildup, consider utilizing a small amount of dish soap in water. Apply the soapy water with a microfiber cloth and rinse with plain water afterward. Always ensure to dry the surface promptly to prevent any water damage.

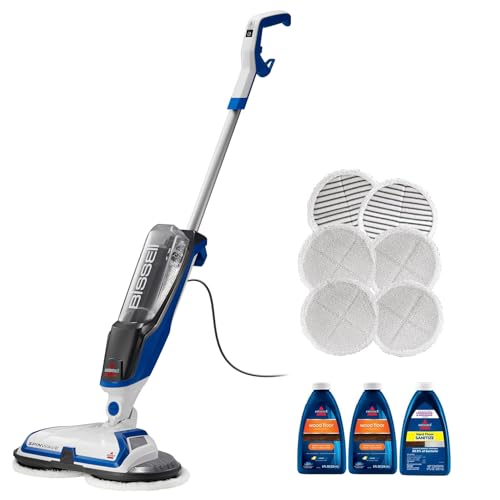
For persistent residue, a commercial product designed for residue removal may be the solution. Select one that is compatible with your floor’s finish, and follow the manufacturer’s instructions carefully to avoid unintended damage.
Identify the Type of Wood Finish on Your Floor
I recommend checking the surface of your flooring to determine the finish. A simple water test helps; drop a few drops of water on the surface. If the water beads up, it indicates a surface finish, such as polyurethane or varnish. If the water soaks in, likely, it’s an oil finish or wax. You can also scratch the surface lightly with a fingernail. If it leaves a mark, it’s probably oiled or waxed. For a more definite approach, use a small amount of mineral spirits on a cloth to wipe an inconspicuous area. A shiny residue indicates a surface finish, while a matte appearance suggests an oil or wax finish.
Whenever I’m unsure, I consult the manufacturer’s guidelines or maintenance instructions. Those documents usually clarify the type of treatment used. Also, knowing the age of the flooring can guide your assessment; older floors often use oil or wax, while newer installations are likely finished with polyurethane or similar products.
Lastly, a professional inspection is beneficial if there’s still uncertainty. They can accurately identify the substances used on your surface and recommend proper cleaning methods without damaging the finish.
Gather Necessary Cleaning Supplies for Removal
First, I gather microfiber cloths. These are soft and effective, preventing scratches while absorbing excess residue. Next, I ensure I have a bucket for mixing solutions or holding rinsed cloths. A spray bottle comes in handy for applying cleaning agents evenly.
Cleaning Solutions
I choose a gentle cleaner suitable for delicate finishes, such as a mixture of warm water and a few drops of dish soap. For stubborn buildup, white vinegar diluted in water works well. I also consider specialized hardwood floor cleansers if needed.
Additional Tools
An absorbent sponge or soft-bristle brush aids in scrubbing without damaging surfaces. I keep a dust mop or vacuum nearby for removing loose dirt and debris before applying any cleaning solution.
Test a Small Area Before Full Application
I always recommend selecting an inconspicuous spot on the surface to evaluate the cleaner’s compatibility. This step helps prevent any unforeseen reactions that could damage the finish.
Follow these steps for testing:
| Step | Action |
|---|---|
| 1 | Apply a small amount of the chosen cleaning solution to the test area. |
| 2 | Gently rub the area with a soft cloth or sponge. |
| 3 | Wait a few minutes to assess any discoloration or damage. |
| 4 | If the surface appears unaffected, proceed with the rest of the area. |
| 5 | If damage occurs, discontinue use immediately and try a different method. |
This precaution helps preserve the integrity of the material while ensuring a safer cleaning process. Adjust the method based on the test outcome to achieve the best results without compromising the finish.
Apply the Chosen Cleaning Solution Carefully
Begin by using a soft cloth or sponge to apply the selected cleaner. Avoid soaking the surface; a light mist or damp application works best.
Steps to Follow
- Wring out excess liquid from the cloth or sponge to prevent drips.
- Gently rub the solution onto the targeted area, starting from a corner and moving in small sections.
- Use circular motions to lift any residue without damaging the finish.
Things to Avoid
- Do not scrub vigorously, as this can harm the surface.
- Avoid using abrasive materials or harsh chemicals that may strip the finish.
- Steer clear of excessive moisture, which can warp the boards over time.
After application, wipe with a clean, dry cloth to remove any remaining cleaner and ensure no streaks are left behind. Patience is key; allow time for the area to dry completely before walking on it again.
Wipe and Dry the Area Thoroughly After Cleaning
Once the cleaning solution has been applied and worked into the surface, I ensure that the area is wiped down with a clean, dry cloth. This step is critical to remove any remaining moisture and cleaning agents that could leave residue or attract dirt.
I prefer to use a microfiber cloth for this purpose, as it effectively absorbs moisture without scratching the surface. After wiping, I check that the cloth is damp but not overly wet, as excess water can damage the finish.
Following the wipe, I leave the area to air dry completely. If necessary, I use another dry cloth to buff the area gently, enhancing the shine and ensuring an even finish. Regularly checking the floor to confirm there are no streaks or leftover residues guarantees a clean and polished appearance.
Prevent Future Build-up of Household Shine Solutions
Switch to a more efficient cleaning method by considering a damp microfiber cloth for regular maintenance. This approach minimizes residue accumulation by capturing dirt and grime without additional substances.
Choose Appropriate Products
Select products specifically designed for your surface type. Look for options labeled as “safe for sealed surfaces” to avoid unwanted build-up. Always confirm compatibility with your current finish before application.
Maintain Consistent Cleaning Routine
Establish a schedule for cleaning to keep your surfaces clear of deposits. Weekly or bi-weekly damp mopping will prevent residues from developing over time. Adjust frequency according to space usage and environmental factors.


