Choose a high-quality foam roller instead of a traditional application tool. This will minimize the appearance of marks, providing a smoother finish. The roller should be matched with the type of finish to ensure optimal results.
Surface preparation plays a key role. Sanding the item thoroughly not only helps with adhesion but also creates a more uniform surface which significantly reduces the visibility of imperfections. I recommend starting with a coarse grit and progressively moving to a finer grit for the best outcome.
Always work in thin layers. Applying too much material at once can lead to unsightly texture. Allow each coat to dry completely before applying the next, ensuring a flawless final look. For a truly smooth result, consider adding a little paint conditioner, which helps improve flow and leveling.


Using long, even strokes is crucial for achieving a professional appearance. Keeping the application tool loaded with material helps prevent the creation of clumps or uneven patches, leading to a more refined finish. Be patient – rushing through the process can compromise the final look.
Lastly, selecting the right environment matters. A dust-free area with controlled temperature and humidity can significantly enhance the drying process, reducing the risk of debris settling on the freshly coated surfaces. Remember, preparation and care in technique lead to outstanding results.
Selecting the Right Type of Paint for Furniture
Choose a latex or water-based acrylic paint for a smooth finish. These options provide excellent coverage and dry quickly, which reduces the chance of imperfections. For a durable and long-lasting surface, consider using alkyd paints, which are oil-based but have a long drying time. This type offers a tough finish ideal for high-traffic areas.
Finishes to Consider
- Satin Finish: Creates a soft sheen, ideal for hiding defects and imperfections.
- Matte Finish: Provides a non-reflective surface that’s excellent for rustic or vintage styles.
- Gloss Finish: Offers a high-shine look, making it easy to clean but may highlight imperfections.
Choosing the Right Color
Opt for lighter shades for small spaces to create an illusion of openness. Dark colors can add drama but may make areas feel smaller. Test colors in different lighting conditions to see how they interact before committing.
Consider using paint specifically designed for furniture or cabinets. These formulations typically include additives that enhance durability while providing a smooth application for a flawless finish.
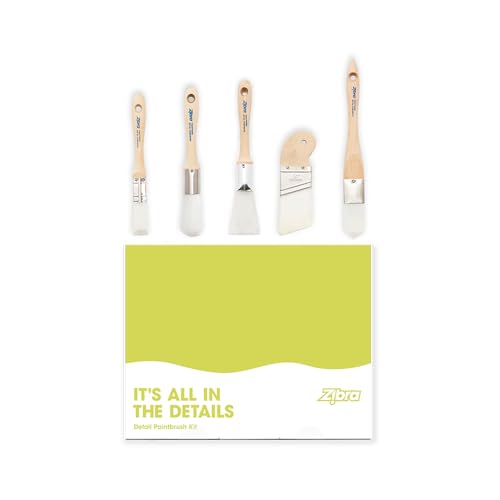
Choosing the Best Tool for Smooth Finishes
Select a high-quality synthetic filament applicator for a flawless outcome. These tools are ideal for applying latex-based coatings as they hold paint effectively and provide an even distribution. Opt for a size that suits your project’s scale: a 2- to 3-inch model is versatile for both large surfaces and detailed areas.
Types of Applicators
A variety of applicators can impact the final appearance. Here’s a comparison of commonly used types:
| Type | Material | Best Use |
|---|---|---|
| Synthetic | Nylon/Polyester | Water-based finishes |
| Natural | China Bristle | Oil-based paints |
| Foam | Polyurethane | Sealers and varnishes |
Maintenance Tips
Keep your tools in prime condition. Clean them immediately after use to prevent paint from drying in the bristles. This ensures longer lifespan and superior performance for future projects.
Preparing the Surface Before Painting
Thoroughly cleaning the surface is paramount. I utilize a mixture of warm water and mild soap to remove dirt and grease. Afterward, I dry the area completely using a soft cloth.
Sanding is next on my list. I opt for medium-grit sandpaper (around 150-180 grit) to create a smooth texture. This step helps the new finish adhere better. I ensure to sand in the direction of the grain to avoid scratches. After sanding, I wipe down the surface with a damp cloth to eliminate dust particles.
For porous or uneven surfaces, applying a primer is beneficial. I choose a high-quality bonding primer to ensure an even base. Priming also minimizes the absorption of paint, leading to improved coverage.
For optimal results, I always conduct a test on a small, inconspicuous area. This helps me assess how the materials react and allows me to make necessary adjustments before tackling the entire project.
Lastly, maintaining an adequate working environment is crucial. I make sure the area is well-ventilated and the temperature is moderate to enhance drying times and finish quality.
Applying Thin Coats to Minimize Strokes
I focus on applying multiple thin layers instead of a single thick one. A thickness of one-eighth of an inch is ideal. This method helps prevent drips and runs, enhancing the overall finish. Using a high-quality synthetic bristle tool, I gently load it with a small amount of coating. I touch the surface lightly, maintaining a wet edge to ensure smooth coverage.
<pAfter each layer dries completely, which usually takes a few hours, I lightly sand the surface with fine-grit paper. This step eliminates minor imperfections, providing a smoother base for subsequent applications. Following sanding, I clean any dust off with a tack cloth before applying the next coat. I repeat this process for at least three layers to achieve a durable and flawless finish.
<pTo optimize the drying process, I ensure that the environment is well-ventilated and that temperatures remain consistent. During colder months, I use a space heater to maintain the ideal conditions for drying. Consistent application and attention to drying time yield a professional, smooth result without unsightly lines.
Utilizing Proper Brush Techniques
For achieving a flawless finish, maintaining a consistent angle while applying the paint is key. I keep the brush at about 30-45 degrees to the surface. This position helps distribute the product evenly and reduces the chances of imperfections.
I find that using long, even strokes leads to a better application. By avoiding short, choppy movements, the coverage remains smooth. It’s beneficial to work in sections, allowing me to focus on blending each area seamlessly without interruptions.
Minimizing Pressure
Light pressure on the bristles allows the paint to flow more freely. I avoid pressing too hard, which can create excessive texture. Instead, I let the weight of the brush do the work, resulting in a more refined application.
Maintaining a Wet Edge
To ensure a continuous finish, I prioritize maintaining a wet edge. This means overlapping slightly into the previously painted area while the paint is still damp. This technique prevents visible lines or uneven patches from forming, achieving a polished surface.
Practicing these methods contributes significantly to achieving that desired sleek appearance on any piece of cabinetry or decor. Consistency and attention to detail have proven beneficial in my experience.
Finishing Touches: Sanding and Topcoats
I recommend sanding between coats to achieve a sleek and refined surface. Use fine-grit sandpaper, around 220-grit, and lightly scuff the dried layer. This method helps eliminate imperfections and creates a better bond for the next application.
Choosing the Right Topcoat
Selecting an appropriate topcoat can significantly enhance durability and appearance. For indoor items, consider a water-based polyurethane for minimal odor and quick drying. For outdoor pieces, opt for an oil-based option that offers superior protection against the elements. Apply thin layers, allowing sufficient drying time between coats for best results.
Final Sanding Techniques
<pOnce the final coat has dried, lightly sand the surface once more with an ultra-fine 320-grit or higher sandpaper. This step smoothens any potential roughness. After sanding, wipe the surface with a damp cloth to remove dust before applying the last layer of finish. This final touch will provide a glass-like sheen and an impeccable finish.